
Introduction: Understanding the Safety Requirements for Indoor Hammocks
Installing a hammock indoors can transform any room into a cozy retreat. The good news is that yes, most ceilings can support hammocks—but only with proper assessment and correct installation. Before you start drilling holes and hanging hardware, it’s crucial to understand that safety must be your top priority.
Improper hammock installation can lead to:
- Personal injuries from falls
- Significant property damage
- Ceiling collapse or structural damage
- Damage to electrical wiring or plumbing hidden in ceilings
Not every ceiling is suitable for hammock installation. The structure, material, and condition of your ceiling all play vital roles in determining whether it can safely hold the weight of a hammock and its occupants.
Our goal with this guide is to help you determine if your ceiling can safely support a hammock and walk you through the proper installation process. We’ll examine ceiling structures, weight capacity requirements, hardware selection, and installation techniques to ensure your indoor hammock is both comfortable and secure.
Key factors we’ll cover include:
- Different ceiling structures and their suitability
- How to locate and assess ceiling joists
- Understanding hammock weight capacity guidelines and load requirements
- Selecting appropriate mounting hardware
- Proper installation techniques and safety testing
Most hammocks require support for 250-600 pounds (113-272 kg), which includes both static weight and the additional dynamic forces created when entering, exiting, or moving in the hammock.
Understanding Different Ceiling Structures
Before installing a hammock, you need to identify your ceiling type. Different structures have varying load capacities and installation requirements, which directly impact safety and stability.
Understanding how much weight a hammock can hold is important, but equally crucial is knowing how much weight your ceiling can support. Let’s examine the common ceiling structures found in homes:
Wooden Joists: The Ideal Support Structure
Wooden joists are the best option for hammock installation for several reasons:
- They provide excellent structural support and weight distribution
- They’re commonly found in most homes with traditional construction
- They offer reliable anchor points for hammock hardware
Typical wooden joists are 2×6, 2×8, or 2×10 inches in size and are usually spaced 16 or 24 inches (40-60 cm) apart. The larger the joist, the greater its load-bearing capacity. These joists run in a specific direction across your ceiling, which will influence where you can place your hammock.
Different wood types offer varying strengths, with traditional pine being common in older homes and engineered lumber like LVL (Laminated Veneer Lumber) found in newer construction. If ceiling mounting proves challenging, consider our ultimate guide to heavy-duty hammock stands for alternative solutions.
Concrete Ceilings: Solid but Challenging
Concrete ceilings offer excellent strength for hammock installation but present unique challenges:
- Extremely high weight capacity when properly anchored
- Requires specialized drilling equipment and concrete anchors
- Installation is more difficult and produces significant dust and debris
- Potential for hitting rebar (steel reinforcement) when drilling
Working with concrete demands special hardware like wedge anchors or sleeve anchors, which are designed to expand within the concrete for maximum holding power. These anchors typically have high weight ratings of 500+ pounds (227+ kg) when properly installed.
Installation considerations for concrete ceilings include:
– Using a hammer drill with masonry bits
– Employing dust collection methods
– Ensuring proper anchor depth and expansion
– Avoiding areas with potential embedded utilities or reinforcement
Unsuitable Ceiling Types to Avoid
Some ceiling structures simply cannot safely support a hammock:
- Drywall/plasterboard alone (without securing into joists) can only support 5-10 pounds (2.3-4.5 kg) per square foot and will fail under hammock loads
- Suspended or drop ceilings with lightweight grid systems and tiles
- Metal studs not designed for dynamic loads (they can twist or buckle)
- Decorative ceilings with popcorn texture, thin paneling, or ornate plasterwork
- Water-damaged or aged ceiling materials showing signs of deterioration
- Ceilings in properties with uncertain structural integrity
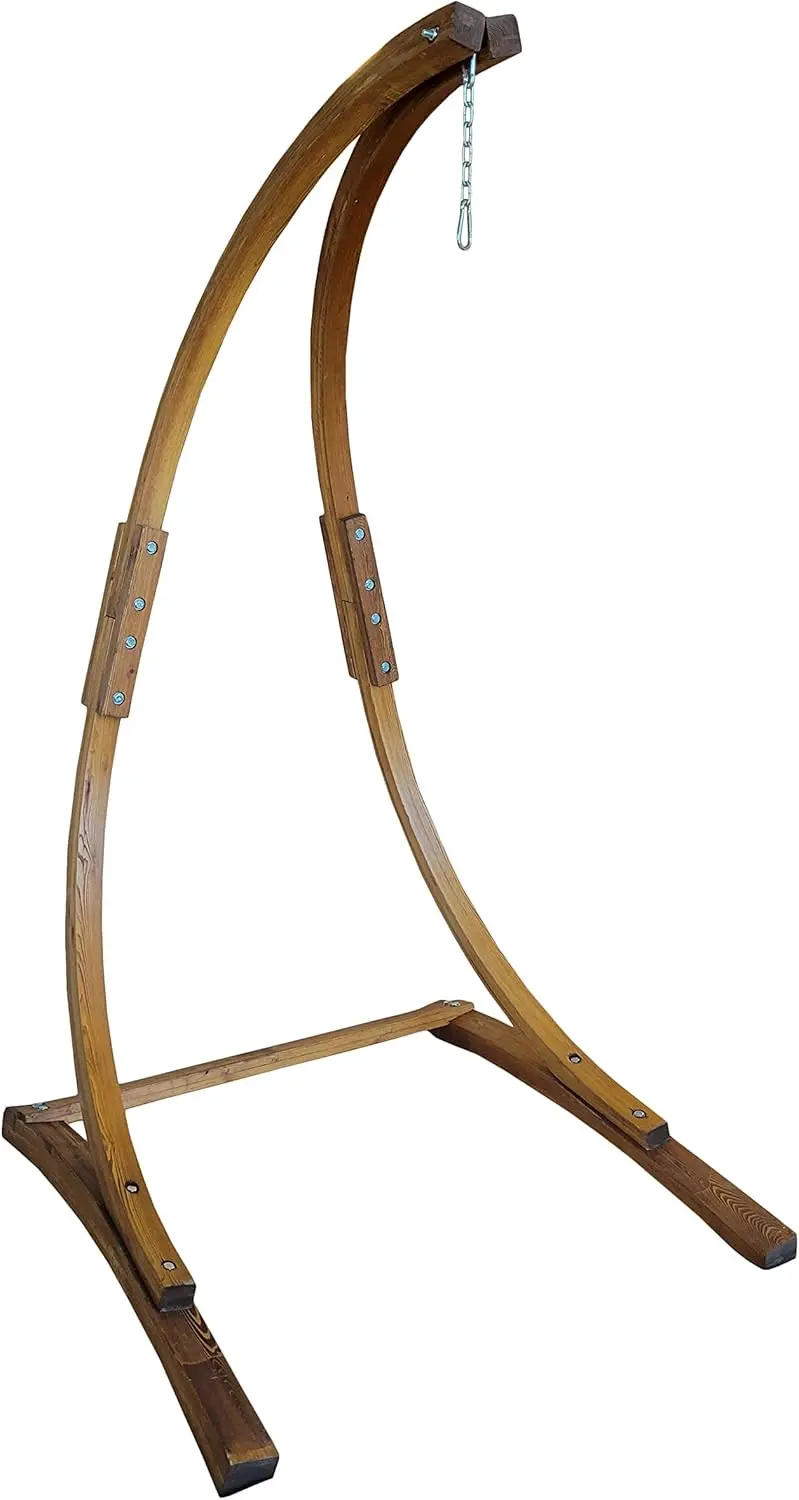
If your ceiling falls into one of these categories, consider free-standing hammock options instead of ceiling mounting.
Locating and Assessing Your Ceiling Joists
For homes with wooden ceiling joists, finding these structural elements is the first step toward safe hammock installation. Understanding hammock load capacity starts with finding the right support structure.
Follow these methods to locate your ceiling joists:
Use a stud finder: Electronic stud finders detect density changes behind drywall, indicating joist locations. Magnetic stud finders locate the metal fasteners used to attach drywall to joists.
Look for visual clues: Sometimes you can spot subtle drywall dimpling where nails or screws secure the ceiling to joists.
Tap the ceiling: Hollow sounds indicate spaces between joists, while solid sounds suggest joist locations.
Check light fixtures and vents: These are typically attached to joists and can indicate joist direction.
Use the pilot hole method: Drill a tiny test hole and insert a bent wire to feel for joists (only recommended if you plan to install in that general area).
Once you locate one joist, others are typically spaced 16 or 24 inches (40-60 cm) apart in parallel lines. Mark joist centers clearly with painter’s tape or pencil marks to identify mounting points.
Verifying Joist Integrity and Suitability
Not all joists are created equal. Before installation, verify that your joists are:
- At least 2×6 inches in size for standard hammocks (2×8 or larger is preferable)
- Free from visible damage, cracks, or sagging
- Not showing signs of water damage or pest infestation
- Actually load-bearing (some ceiling elements may look like joists but aren’t)
- In good structural condition with no signs of rotting or splitting
Warning signs that should prompt professional evaluation include:
– Visible sagging between joists
– Water stains or discoloration
– Cracking or splitting wood
– Excessive bounce when pressure is applied to the ceiling
– Previous modifications that might have compromised structural integrity
Understanding Weight Capacity Requirements
Installing a hammock requires careful consideration of weight capacity to ensure safety. The dynamic nature of hammock use creates forces beyond just the static weight of the occupant.
When calculating the required weight capacity, consider:
Static vs. Dynamic Load: A person sitting still in a hammock creates static load. Movement, getting in or out, or swinging creates dynamic load, which can temporarily double or triple the static weight.
Total Weight Calculation: Add the weight of:
– Maximum user weight (or combined weight for multiple users)
– The hammock itself (5-15 pounds/2.3-6.8 kg)
– Dynamic force multiplier (typically 2-3× static weight)
Example calculation:
– 200-pound (90 kg) person + 10-pound (4.5 kg) hammock = 210 pounds (95 kg) static load
– Applying 2× dynamic force factor = 420 pounds (190 kg) minimum capacity needed
– Adding 20% safety margin = 504 pounds (229 kg) recommended capacity
Standard wooden ceiling joists in good condition can typically support 300-700 pounds (136-318 kg) depending on size, wood type, and span length. However, this assumes proper installation directly into the center of the joist.
For heavier users or multiple occupants, our heavy-duty hammock sets are designed with reinforced materials and higher weight capacities.

Selecting the Right Hardware for Safe Installation
Choosing the right hardware is crucial for safe hammock installation. Inadequate or undersized hardware is a leading cause of installation failures.
Hardware for Wooden Joists
For wooden joist installations, select from these reliable options:
Eye Bolts (Best Option)
– Material: Forged steel or stainless steel (never use zinc-plated hardware)
– Minimum size: 1/2-inch (12mm) diameter
– Minimum length: 4 inches (10cm) with at least 2.5-3 inches (6-7.5cm) penetration into joist
– Thread type: Coarse wood threads, not machine threads
– Weight rating: Look for bolts rated for 300+ pounds (136+ kg)
– Important features: Closed eye (not open hooks), fully threaded shaftMounting Plates
– Material: Heavy-gauge steel (3/16-inch/5mm or thicker)
– Configuration: Multiple mounting holes for distributing load
– Attachment: Using at least four 3/8-inch (10mm) lag screws per plate
– Applications: Ideal for spreading weight across larger areaSupplementary Hardware
– Carabiners: Use climbing-rated carabiners (rated 23+ kN)
– Chains: If needed for adjustment, use welded-link chains rated for at least 500 pounds (227 kg)
– Rope: Select materials rated for at least 3× your calculated load
Avoid these dangerous hardware options:
– Toggle bolts (designed for hollow walls, not dynamic loads)
– Molly bolts or butterfly anchors (insufficient holding power)
– Adhesive hooks of any kind
– Small eye screws (under 3/8-inch/10mm diameter)
– Any hardware not explicitly rated for overhead mounting
Hardware for Concrete Ceilings
Concrete installations require specialized anchors:
Mechanical Expansion Anchors
– Wedge anchors: 1/2-inch (12mm) minimum diameter, 3-inch (7.5cm) minimum embedment
– Sleeve anchors: 1/2-inch (12mm) minimum, rated for overhead use
– Installation: Requires hammer drill with properly sized masonry bitThrough-Bolting Options
– For thin concrete slabs, through-bolting with backing plates on opposite side
– Minimum bolt diameter: 1/2-inch (12mm) stainless or galvanized steel
– Backing plate: 4×4-inch (10×10cm) steel plate minimumEpoxy Anchoring Systems
– Two-part epoxy with threaded rod (1/2-inch/12mm minimum)
– Professional-grade products designed for structural applications
– Requires exact hole sizing and complete curing time
If you’re unable to install ceiling anchors, hammock chairs with stands provide a floor-based alternative that doesn’t require ceiling modification.
Step-by-Step Installation Guide
With proper preparation and the right tools, installing a hammock mount can be accomplished safely. Follow this comprehensive guide for best results.
Tools Needed:
- Stud finder
- Drill with appropriate bits (wood or masonry)
- Measuring tape
- Level
- Pencil or painter’s tape for marking
- Socket wrench or adjustable wrench
- Safety glasses and dust mask
- Ladder or step stool
- Helper for assistance
Proper Installation Technique for Wooden Joists
Plan your hammock location
– Measure the total length of your hammock when laid flat
– Mark mounting points approximately 12-24 inches (30-60cm) shorter than total hammock length
– Verify both mounting points align with center of joists
– Ensure 30-degree hanging angle can be achieved (ideal for hammock comfort)Drill pilot holes
– Mark the exact center of the joist
– For 1/2-inch (12mm) eye bolts, use 5/16-inch (8mm) drill bit
– Drill straight into joist center at 90-degree angle to ceiling
– Drill to depth slightly shorter than eye bolt shaft length
– Keep drill perpendicular to ceiling surfaceInstall the eye bolts
– Thread eye bolt into pilot hole by hand initially
– Use screwdriver or rod through eye for leverage to tighten
– Tighten until eye bolt is firmly seated against ceiling
– Ensure eye is oriented correctly for hammock attachment
– The eye should not rotate or move when installation is completeCommon installation mistakes to avoid:
– Missing the center of the joist (drilling off-center)
– Using pilot holes that are too large
– Not driving eye bolts deep enough into joist
– Failing to check for electrical wires or plumbing
– Mounting hardware too close to the edge of a joist

If ceiling installation isn’t possible in your space, our A-frame stand hammock sets provide excellent stability without requiring permanent installation.
Installation Techniques for Concrete Ceilings
Mark and prepare mounting points
– Mark mounting points using chalk or pencil
– Verify locations are free of rebar using a rebar detector if available
– Ensure adequate distance from edges (minimum 6 inches/15cm from any edge)Drill anchor holes
– Use hammer drill with appropriate masonry bit
– Drill hole diameter and depth according to anchor specifications
– Drill straight into concrete at 90-degree angle
– Clear dust from hole using compressed air or vacuumInstall concrete anchors
– For wedge anchors:- Insert anchor fully into hole
- Tighten nut to specified torque
- Ensure anchor is fully expanded and secure
- For sleeve anchors:
- Insert completely into prepared hole
- Tighten until anchor expands and secures in concrete
- Do not over-tighten as this can crack concrete
- Safety considerations:
– Wear appropriate dust protection
– Protect eyes from concrete dust
– Use drop cloths to contain dust and debris
– Verify no utilities run through drilling locations
Testing Your Installation Before Use
Never skip testing your hammock installation before full use. Proper testing can identify potential issues before they become dangerous.
Follow this progressive loading test procedure:
Visual inspection
– Verify hardware is fully seated and tight
– Check that eyes or mounting points are oriented correctly
– Ensure no visible cracks or damage to ceiling material around mountsInitial load test
– Attach hammock to mounting points
– Apply 50 pounds (23 kg) of weight (using dumbbells, water jugs, or backpacks)
– Leave weight for 30-60 minutes
– Check for any movement, sagging, or soundsProgressive loading
– Increase weight to 100 pounds (45 kg)
– Monitor for 15 minutes
– Continue increasing in 50-pound (23 kg) increments up to 1.5× your expected maximum load
– Look for any signs of stress or movementWarning signs that indicate problems:
– Creaking or popping sounds from ceiling
– Visible movement of hardware
– Sagging or cracking of ceiling material
– Hardware becoming loose after load applicationFinal testing
– Sit in hammock very carefully near ground level
– Gradually apply full weight
– Test gentle movement before full relaxation
Understanding how hammock material affects weight capacity can help you choose the right hammock type for your installation.
Advanced Reinforcement Techniques
Sometimes standard installation methods aren’t enough, especially for older homes or when mounting hammock chairs that create concentrated loads.
Consider these reinforcement options:
Joist blocking/bridging
– Install additional wood pieces between joists
– Creates stronger structure that distributes weight across multiple joists
– Requires access to space above ceiling (attic or removed ceiling section)
– Most effective when installed perpendicular to existing joistsMulti-joist mounting plates
– Large steel plates that span across 2-3 joists
– Distribute load across multiple structural elements
– Require multiple lag bolts per joist
– Can be custom fabricated or purchased as specialized hammock mountsSister joisting
– Adding additional joists alongside existing ones
– Doubles the load capacity of the mounting area
– Requires extensive access to space above ceiling
– Best performed by experienced carpentersWhen to consider reinforcement:
– Older homes (pre-1970s) with smaller dimensional lumber
– When joists show any signs of damage or weakness
– For heavy-duty use or multiple person hammocks
– When mounting swinging hammock chair sets that create concentrated loads

Dark Wood Hammock Sets, Porch Swing Chair Sets
$653.82 Select options This product has multiple variants. The options may be chosen on the product page
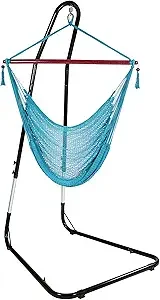
A-Frame Stand Hammock Sets, Swinging Hammock Chair Sets
$154.62 Select options This product has multiple variants. The options may be chosen on the product page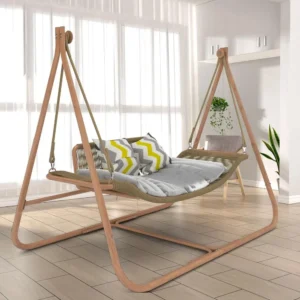
Light Wood Hammock Sets, Swinging Hammock Chair Sets
$1,359.35 Select options This product has multiple variants. The options may be chosen on the product page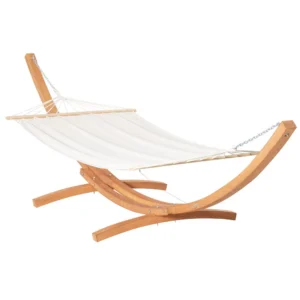
Classic Wooden Stand Hammock Sets, Heavy Duty Hammock Sets
$1,061.68 Select options This product has multiple variants. The options may be chosen on the product page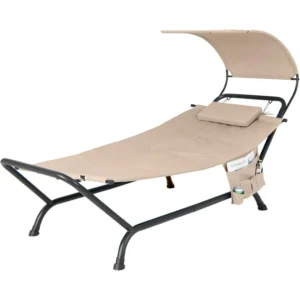
Hammock Sets with Canopy, Heavy Duty Hammock Sets
$286.31 Select options This product has multiple variants. The options may be chosen on the product page
Folding Hammock Sets, Quick Setup Hammock Sets
Price range: $305.52 through $583.27 Select options This product has multiple variants. The options may be chosen on the product page
Long-Term Safety and Maintenance
Proper maintenance ensures your ceiling-mounted hammock remains safe for years to come.
Implement this regular inspection routine:
- Monthly checks: Visually inspect mounting hardware and ceiling around installation points
- Quarterly tightening: Test all hardware for tightness and secure as needed
- Seasonal reassessment: Wood expands and contracts with humidity changes, which may require hardware adjustments
Watch for these warning signs:
– Visible sagging around mounting points
– Cracked paint or drywall around hardware
– Loose feeling when using the hammock
– Creaking or unusual noises during use
– Visible rust or corrosion on hardware
Replace any hardware showing signs of:
– Bending or deformation
– Rust or corrosion (especially at stress points)
– Stretching or elongation of metal components
– Damaged or missing parts
Alternative Solutions When Ceiling Mounting Isn’t Possible
If your ceiling isn’t suitable for hammock installation, you have several excellent alternatives:
Hammock Stands
– Pros: Portable, no installation required, works on any flat surface
– Cons: Requires floor space, limited by stand dimensions
– Best for: Renters, frequent repositioning, temporary use
– Space needed: Typically 9-15 feet (2.7-4.6m) length × 4-5 feet (1.2-1.5m) widthWall-Mounted Options
– Pros: Often easier than ceiling mounting, can utilize wall studs
– Cons: Requires two sturdy walls at appropriate distance
– Best for: Rooms with limited floor space but strong walls
– Requirements: Solid wall studs or masonry wallsDoor Frame Solutions
– Pros: No permanent installation, good for temporary use
– Cons: Limited to hammock chairs or small hammocks
– Best for: Small spaces, apartments, temporary setups
– Limitations: Door must remain open while in useFree-standing Hammock Chairs
– Pros: Single-point support, smaller footprint than full hammocks
– Cons: Different experience than full-length hammocks
– Best for: Limited space, single-person use
– Popular option: portable hammocks with stands
Frequently Asked Questions
Can I install a hammock on a popcorn or textured ceiling?
Yes, but the texture itself doesn’t affect structural capacity. You’ll need to locate the joists beneath the textured surface and install hardware directly into them.
What if I drill and only hit drywall?
Stop immediately and try again. Never mount hammock hardware into drywall alone. Reposition your drill location until you hit solid wood. Use a stud finder to improve accuracy.
Do hammock chairs require the same ceiling strength as full hammocks?
Hammock chairs create more concentrated load but often support less total weight. They still require mounting into joists or concrete, but the forces are more vertical than horizontal.
How far apart should hammock mounting points be?
For standard hammocks, mounting points should be approximately 2 feet (60cm) less than your hammock’s total length when laid flat. For most hammocks, this means 10-14 feet (3-4.3m) apart.
Can I install a hammock in a rental property?
Check your lease agreement first. If allowed, consider removable options like stands instead of permanent installation, or use mounting methods that can be repaired when moving out.
When to Consult a Professional
While many hammock installations can be DIY projects, some situations warrant professional help:
- You’re uncertain about identifying ceiling structures
- Your home is very old (pre-1960s) with unknown construction methods
- You cannot confidently locate ceiling joists
- Your ceiling is made of unusual materials
- You want to install in concrete but lack specialized tools
- You need custom reinforcement solutions
- You’re uncomfortable working at height or with power tools
- The installation requires modifying structural elements
For professional assessment, consider:
– Structural engineers (for load capacity evaluation)
– Licensed contractors with carpentry experience
– Specialized hammock installation services
Professional consultation typically costs $100-300, while complete professional installation ranges from $200-500 depending on complexity and materials.
Summary: Enjoying Your Indoor Hammock Safely
Installing a hammock from your ceiling can create a wonderful relaxation space in your home when done correctly. Remember these key points:
- Always mount into structural elements like wooden joists or concrete—never drywall alone
- Use appropriately sized hardware (minimum 1/2-inch/12mm eye bolts for wood)
- Calculate weight capacity needs based on both static and dynamic loads
- Thoroughly test your installation before full use
- Maintain and inspect your mounting hardware regularly
The perfect balance of safety and enjoyment comes from careful planning and proper installation. With the right approach, your ceiling-mounted hammock can provide years of comfortable relaxation.
For those with unsuitable ceilings, remember that free-standing options like hammock stands offer the same relaxation benefits without structural modifications. Outside Luxe offers multiple solutions to suit any space constraints or installation limitations.