

Is Hanging a Hammock Inside Safe? The Direct Answer
Yes, hanging a hammock indoors is absolutely safe—when done correctly. The key to indoor hammock safety rests on three critical pillars: proper structural support, appropriate hardware, and correct installation techniques. When these elements come together, you can enjoy all the benefits of indoor hammock relaxation without worry.
Indoor hammocks have gained popularity for good reason. They offer an efficient way to create a dedicated relaxation zone without consuming valuable floor space. The gentle swaying motion promotes better sleep and relaxation, while the unique aesthetic adds character to any room. Many hammock enthusiasts find that their indoor hammock becomes their favorite reading nook or meditation spot.
However, it’s important to acknowledge that improper installation can lead to potential risks, including property damage or personal injury. That’s why understanding the fundamentals of safe indoor hammock hanging is essential before you start drilling holes in your walls.
Throughout this guide, we’ll walk you through everything you need to know about safely installing an indoor hammock. From understanding your home’s structure to comparing various indoor outdoor hammock placement options, we’ll cover the essential knowledge you need to create a safe, comfortable hammock retreat inside your home.
Understanding the Structural Requirements for Indoor Hammock Safety
The foundation of indoor hammock safety begins with proper structural support. Unlike outdoor trees that have evolved to withstand significant forces, indoor walls and ceilings require careful consideration before they can safely support your body weight plus the additional forces created by movement.
Wall Studs vs. Drywall
The most critical rule of indoor hammock hanging: never mount directly to drywall, plaster, or other surface materials alone. These materials aren’t designed to support weight or handle the pulling forces a hammock creates. Instead, you must locate and mount to the structural framework of your home—typically wooden wall studs or ceiling joists.
Wood studs typically provide excellent mounting points because they offer substantial structural integrity. Metal studs, while common in newer construction, are often unsuitable for hammock hanging as they can bend under the constant tension and dynamic forces.
Weight Distribution and Force Considerations
When you hang a hammock, you’re not just dealing with static weight (your body at rest). You must also account for dynamic load—the additional force created when you sit down, adjust position, or swing. A person weighing 180 pounds (82 kg) can generate forces exceeding 300-450 pounds (136-204 kg) during normal hammock use.
The angle of your hammock suspension significantly impacts force distribution. Steeper hanging angles create dramatically higher forces on your mounting points. This is why proper installation technique and understanding of your home’s construction are so important for creating a safe hammock environment.
Following comprehensive hammock installation requirements and safety guidelines is essential for preventing structural damage to your home and ensuring personal safety during use.
The Physics of Safe Hammock Hanging: Forces and Weight Distribution
Understanding the basic physics behind hammock hanging will help you make safer installation choices. When you suspend a hammock between two points, you create a system of tension forces that follow predictable patterns.
Tension Force Multiplication
One of the most important concepts to understand is that the forces at your anchor points are significantly greater than just your body weight. Due to the angled suspension, these forces can easily be 2-3 times your actual weight. For example:
- A 180-pound (82 kg) person in a hammock hung at a 30-degree angle creates roughly 360 pounds (163 kg) of force at each anchor point
- The same person in a hammock hung at a steep 45-degree angle could generate over 500 pounds (227 kg) of force at each anchor point
This explains why proper anchoring is absolutely critical for safety.
The Ideal Suspension Angle
For indoor hammock hanging, a 30-degree suspension angle (measured from horizontal) offers the optimal balance between comfort and safety. This angle:
- Minimizes forces on your anchor points
- Provides good stability for the hammock
- Creates the most comfortable lying position
Dynamic Load Considerations
Every movement you make in a hammock creates additional force. Actions like:
- Sitting down suddenly
- Swinging or bouncing
- Shifting positions
- Getting in or out
These movements can temporarily double or triple the static forces on your mounting hardware. The indoor outdoor hammock safety guide provides valuable insights on managing these forces safely in different environments.
Essential Tools and Hardware for Secure Indoor Hammock Installation
Proper equipment is non-negotiable for safe indoor hammock installation. Investing in quality tools and hardware specifically designed for weight-bearing applications will ensure your setup remains secure over time.
Tools You’ll Need
- Electronic stud finder (ideally one that detects both wood and metal)
- Drill with various drill bit sizes
- Level
- Tape measure
- Pencil for marking
- Socket wrench or adjustable wrench
- Safety glasses
Recommended Mounting Hardware
The type of mounting hardware you choose should be based on your specific installation scenario:
For wall studs or ceiling joists:
* Heavy-duty eye bolts (3/8” to 1/2” diameter, 3-4” long or 10-13mm diameter, 7.5-10cm long)
* Lag screws with mounting plates
* Weight rating: Minimum 300 pounds (136 kg) per anchorFor masonry walls (brick, concrete):
* Expansion bolts specifically rated for hammock use
* Heavy-duty concrete anchors with eye bolts
* Weight rating: Minimum 300 pounds (136 kg) per anchor
Hardware to Avoid
- Standard wall anchors (even those labeled “heavy duty”)
- Small eye screws (less than 1/4” or 6mm diameter)
- Any hardware without specific weight ratings
- Decorative hooks designed for plants or light fixtures
For those interested in alternatives to drilling into walls, exploring hammock chairs with stands provides excellent no-drill options that still deliver the hammock experience.
Step-by-Step Guide to Finding Wall Studs and Ceiling Joists
Before you can safely install your hammock, you need to locate the structural elements in your walls or ceiling. This is perhaps the most critical step in the entire installation process.
Using an Electronic Stud Finder
Calibrate your stud finder: Hold it against the wall where you know there’s no stud, and follow the manufacturer’s calibration instructions.
Scan horizontally: Move the stud finder slowly across the wall in a horizontal line where you want to hang your hammock.
Mark potential stud locations: When the stud finder indicates a stud, mark it with a pencil.
Verify with multiple passes: Move up or down a few inches and scan again to confirm the stud location. A true stud will show consistent readings across multiple heights.
Find the center: Studs are typically 1.5 inches (3.8 cm) wide. Scan slowly to find both edges, then mark the center.
Alternative Methods for Finding Studs
If you don’t have a stud finder:
The knock test: Tap along the wall—hollow sounds indicate spaces between studs, while solid sounds suggest stud locations.
Look for visual clues: Electrical outlets and light switches are typically attached to studs. Measure 16 or 24 inches (40.6 or 61 cm) from these points to find additional studs.
Small nail test: After identifying a likely stud location, verify by gently driving a thin nail into the wall. If you hit solid resistance, you’ve found a stud.
Finding Ceiling Joists
Ceiling joists are typically spaced 16 or 24 inches (40.6 or 61 cm) apart, similar to wall studs. Use the stud finder by scanning across the ceiling, marking potential joists. Verify with the small nail test if needed.
Remember that ceiling joists run in a specific direction. Once you find one, others are typically parallel at regular intervals.
Your Complete Installation Guide: Hanging a Hammock Indoors Safely
With your structural supports located and proper hardware in hand, you’re ready to install your indoor hammock. Follow these detailed steps to ensure your hammock is both secure and correctly positioned.

Step 1: Plan Your Space
- Measure your hammock: Determine its full length when stretched out.
- Find optimal anchor points: Look for wall studs or ceiling joists spaced approximately 10-15 feet (3-4.5 meters) apart, depending on your hammock size.
- Consider room flow: Ensure the hammock placement doesn’t obstruct walkways or doorways.
- Check clearance: Make sure there’s adequate space around the hammock for safe swinging and getting in/out.
Step 2: Mark Your Mounting Points
- Measure height: For wall mounting, mark points approximately 5-6 feet (1.5-1.8 meters) from the floor, depending on your preferences.
- Ensure level alignment: Use a level to make sure your mounting points are at equal heights if wall-mounting.
- Mark stud/joist centers: After confirming stud or joist locations, clearly mark the center points where you’ll drill.
Step 3: Drill Pilot Holes
- Select the right bit: Choose a drill bit slightly smaller than your hardware (typically 1/8” to 1/4” smaller or 3-6mm smaller).
- Drill pilot holes: Make sure to drill straight into the center of the stud or joist.
- Proper depth: Drill to a depth of 2-2.5 inches (5-6.5 cm) for wall studs, slightly deeper for ceiling joists.
Step 4: Install Your Mounting Hardware
- Insert eye bolts or lag screws: Screw them into the pilot holes using a wrench.
- Tighten fully: Ensure hardware is firmly seated against the wall/ceiling surface.
- Test for stability: Once installed, pull firmly on each mounting point to verify security.
Step 5: Hang and Test Your Hammock
- Attach hammock: Connect your hammock to the mounting points using appropriate hanging hardware.
- Adjust height: The hammock should sit approximately 18-24 inches (45-60 cm) from the floor when weighted.
- Test gradually: Apply weight slowly, starting with just hands, then sitting carefully, before fully lying down.
Finding the best places to hang your hammock indoors can transform your installation from merely functional to a stunning design element in your home.
Common Installation Mistakes and How to Avoid Them
Being aware of frequent installation errors will help you avoid potential safety hazards with your indoor hammock setup.
Mistake #1: Mounting to Drywall Only
Problem: Even with heavy-duty drywall anchors, the constant tension and dynamic forces will eventually pull anchors through the drywall.
Solution: Always mount to structural elements like studs or joists. No exceptions.
Mistake #2: Using Inadequate Hardware
Problem: Undersized eye bolts or decorative hooks can bend or break under normal hammock use.
Solution: Use only hardware specifically rated for weight-bearing applications, with minimum 300-pound (136 kg) capacity per anchor point.
Mistake #3: Insufficient Drilling Depth
Problem: Hardware not driven deep enough into structural wood won’t have proper holding power.
Solution: Ensure lag screws or eye bolts penetrate at least 2 inches (5 cm) into solid wood.
Warning Signs of Unsafe Installation
Stop using your hammock immediately if you notice:
* Creaking or cracking sounds when weight is applied
* Visible movement at anchor points when the hammock is in use
* Drywall starting to crack or bulge around hardware
* Hardware that feels loose when tested by hand
When in doubt, consult a professional. The cost of professional installation is minimal compared to potential medical bills or home repairs from a failed installation.
No-Drill Alternatives: Hammock Stands and Portable Options
If you can’t modify your walls or ceilings—or simply prefer not to—several excellent alternatives provide the hammock experience without permanent installation.

Free-Standing Hammock Stands
Free-standing hammock stands offer a perfect solution for renters or those with unsuitable wall structures. These stands:
- Require no permanent modifications to your home
- Can be moved to different rooms as needed
- Often break down for storage when not in use
Quality stands come in various materials:
* Steel stands offer excellent durability and weight capacity
* Wooden stands provide aesthetic appeal and natural warmth
* Aluminum stands offer lighter weight for easier movement
Most quality stands support 250-450 pounds (113-204 kg) and require floor space of approximately 9-14 feet long by 4-5 feet wide (2.7-4.3 meters by 1.2-1.5 meters).
Space-Saving Options
For smaller spaces, consider:
* Collapsible stands designed for compact storage
* C-stands that require wall contact but no drilling
* Folding hammock sets that combine portability with easy setup
These alternatives maintain the safety benefits of proper support while offering flexibility that permanent installations can’t provide.
Special Considerations for Hammock Chairs and Swing Seats
Hammock chairs and swing seats present unique installation challenges compared to full-length hammocks.
Single-Point vs. Dual-Point Mounting
Most hammock chairs use a single mounting point, which:
* Concentrates all weight forces at one ceiling location
* Creates rotational forces not present in standard hammocks
* Requires especially robust hardware and structural support
For single-point ceiling mounts:
* Use heavy-duty eye bolts or lag screws (minimum 1/2” or 13mm diameter)
* Consider adding a swivel component rated for at least 350 pounds (159 kg)
* Mount only to substantial ceiling joists, never between joists
Space Requirements
Hammock chairs need:
* Minimum 3-4 feet (0.9-1.2 meters) clearance in all directions
* Adequate height for comfortable hanging (typically 7+ feet or 2.1+ meters ceiling height)
* Consideration of swing radius for safety
For those interested in alternative options, A-frame stand hammock sets provide excellent support for hammock chairs without ceiling mounting. Finding the best place to put your hammock depends on both safety considerations and how you plan to use it.
Maintaining Your Indoor Hammock Setup: Ongoing Safety Checks
A safe hammock installation requires regular maintenance and inspection to ensure continued security over time.
Monthly Inspection Checklist
- Visual check: Examine mounting hardware for any signs of bending, rusting, or pulling away from the wall/ceiling
- Movement test: Gently pull on mounting points to check for any looseness
- Hardware tightening: Re-tighten any slightly loose hardware
- Hammock inspection: Check fabric, ropes, and connection points for wear or damage
Quarterly Deep Inspection
- Load test: Carefully apply weight to test structural integrity
- Wall/ceiling examination: Look for any cracks, bulges, or damage around mounting points
- Hardware removal and inspection: If possible, remove hardware to check for hidden damage
- Structural assessment: Verify that the underlying support remains sound
If your wall-mounted system shows signs of compromise, considering hammock and stand options provides a safe alternative while you address any structural concerns.

Dark Wood Hammock Sets, Porch Swing Chair Sets
$653.82 Select options This product has multiple variants. The options may be chosen on the product page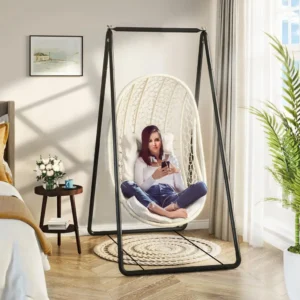
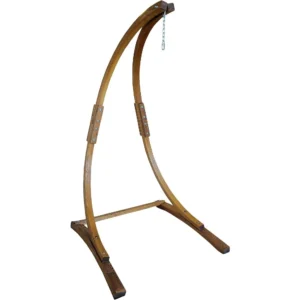
A-Frame Stand Hammock Sets, Swinging Hammock Chair Sets
$154.62 Select options This product has multiple variants. The options may be chosen on the product page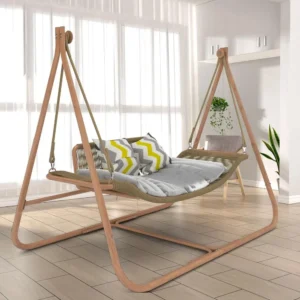
Light Wood Hammock Sets, Swinging Hammock Chair Sets
$1,359.35 Select options This product has multiple variants. The options may be chosen on the product page
Quilted Fabric Hammock Sets, Spreader Bar Hammock Sets
$195.67 Select options This product has multiple variants. The options may be chosen on the product page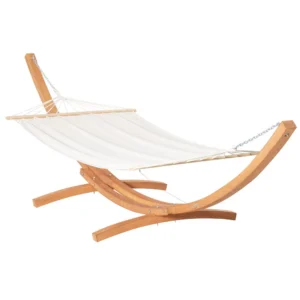
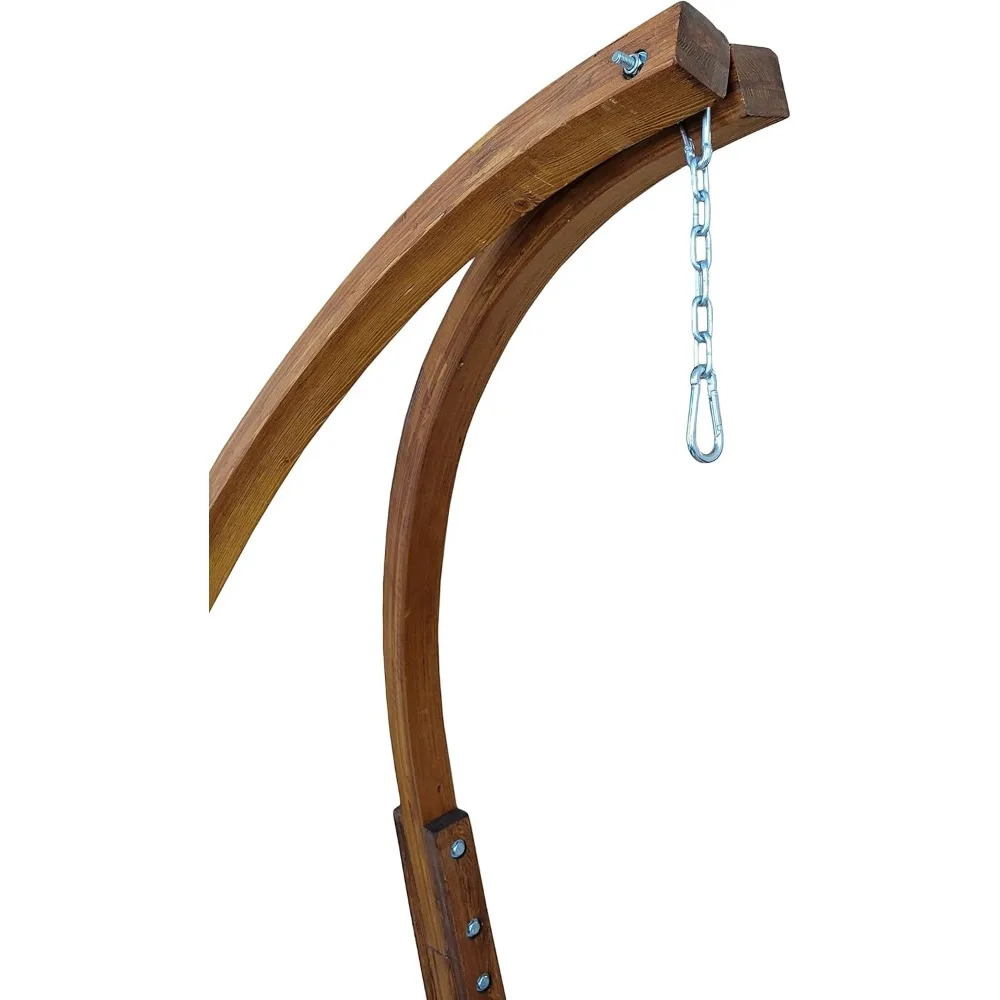
Classic Wooden Stand Hammock Sets, Heavy Duty Hammock Sets
$1,061.68 Select options This product has multiple variants. The options may be chosen on the product page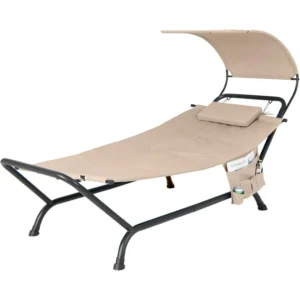
Hammock Sets with Canopy, Heavy Duty Hammock Sets
$286.31 Select options This product has multiple variants. The options may be chosen on the product page
Long-Term Maintenance Tips
- Keep mounting hardware free of rust by applying a light coating of oil annually
- Consider seasonal adjustments if wood structures expand/contract with humidity changes
- Replace any hardware showing signs of wear every few years, even if it appears functional
- Document your installation method for future reference or adjustments
Transform Your Space: Creative Ideas for Indoor Hammock Placement
With safety considerations addressed, you can focus on creating the perfect hammock environment within your home.
Strategic Room Placement
Different rooms offer unique hammock experiences:
- Living room: Create a conversation piece and alternative seating option
- Home office: Install a hammock for relaxing brain breaks between tasks
- Bedroom: Position a hammock near windows for a perfect reading nook
- Sunroom or enclosed porch: Maximize natural light for a tropical retreat feeling
Multi-Functional Space Planning
Your hammock area can serve multiple purposes:
- Position near bookshelves for a reading retreat
- Create a meditation zone with appropriate lighting and sound control
- Set up a nature-viewing station near large windows
- Establish a dedicated nap zone away from household traffic
For more inspiration on integrating a hammock into your living spaces, explore ideas for perfect hammock placement in your home or garden.
FAQs: Your Top Indoor Hammock Safety Questions Answered
Can I hang a hammock from drywall using heavy-duty anchors?
No. Drywall, even with specialized anchors, cannot safely support the weight and dynamic forces of a hammock. Always mount to structural elements like studs or joists.
How much weight can a properly installed indoor hammock support?
When correctly installed into solid wood studs or joists with appropriate hardware, an indoor hammock can typically support 300-450 pounds (136-204 kg), depending on the specific hardware and structural elements used.
Is it safe to sleep overnight in an indoor hammock?
Yes, when properly installed, an indoor hammock is safe for overnight sleeping. Many people find hammock sleeping beneficial for back pain and insomnia. Just ensure your installation uses correctly rated hardware mounted to structural supports.
Are ceiling or wall mounts safer for indoor hammocks?
Both can be equally safe when properly installed into structural elements. Ceiling mounts often provide more placement flexibility and potentially better weight distribution, while wall mounts may be easier to install for most DIYers.
Can I hang a hammock in an apartment I’m renting?
This depends on your lease agreement. Many landlords prohibit drilling into walls or ceilings. For renters, free-standing hammock stands are usually the best option as they require no permanent modifications.
How far apart should my hammock hanging points be?
For most standard hammocks, anchor points should be 10-15 feet (3-4.5 meters) apart. However, this varies based on your specific hammock length and desired hanging angle. Always check manufacturer recommendations for your particular hammock.
Conclusion: Enjoying Your Indoor Hammock Safely
With proper installation and maintenance, an indoor hammock can provide years of comfort, relaxation, and enjoyment. The key takeaways for safe indoor hammock use include:
- Always mount to structural elements, never surface materials alone
- Use hardware specifically rated for weight-bearing applications
- Understand the forces involved and how they affect your mounting points
- Follow proper installation techniques with appropriate tools
- Conduct regular safety inspections to ensure ongoing security
By following the guidelines in this article, you can confidently create a safe indoor hammock retreat that becomes your favorite spot in the house. The extra time invested in proper installation pays dividends in both safety and peace of mind.
Whether you choose wall mounting, ceiling suspension, or a free-standing option, your indoor hammock can transform ordinary living space into an extraordinary relaxation zone—all while maintaining the highest standards of safety and structural integrity.