

Why Choose a Hammock for Backpacking Adventures
The traditional image of camping often includes a tent pitched on flat ground, but experienced backpackers are increasingly turning to hammocks for their long-distance adventures. Hammock camping offers a refreshing alternative that combines comfort with practicality, especially for those covering many miles day after day.
A properly set up hammock system provides several distinct advantages over conventional tent setups:
- Significant weight savings – A complete hammock system typically weighs between 2-3 pounds (0.9-1.4 kg), while comparable tent setups often range from 3-5 pounds (1.4-2.3 kg)
- Superior comfort – No more sleeping on roots, rocks, or uneven terrain that can lead to restless nights
- Greater site selection flexibility – Hammocks can be set up on sloped, rocky, or wet terrain where finding a suitable tent spot would be impossible
- Enhanced nature connection – The experience of gently swaying under the stars creates a more immersive outdoor experience
For long-distance hikers where every ounce matters, these advantages make hammocks particularly appealing. Mastering ultralight hammock packing techniques becomes essential for those looking to maximize these benefits while maintaining an efficient, well-organized pack.
When selecting gear for extended backcountry trips, ultralight camping hammock sets provide an excellent foundation for building a comfortable yet lightweight shelter system that won’t weigh you down on those long days of hiking.
Essential Components of a Complete Hammock System
Before diving into packing techniques, it’s important to understand what makes up a complete hammock system. Each component serves a specific purpose and requires thoughtful consideration when organizing your pack:
The Hammock Body:
* Single vs. double-layer designs (affects weight and insulation)
* Integrated or separate bug nets (impacts packing approach)
* Material considerations (ripstop nylon, polyester, or specialized ultralight fabrics)
Suspension System:
* Tree straps (wide, tree-friendly options prevent damage)
* Whoopie slings or other adjustable suspension options
* Carabiners or other connection hardware
* Structural ridgelines (for consistent sag and comfort)
Insulation:
* Underquilts (crucial for preventing “cold butt syndrome” where your back gets cold)
* Top quilts or sleeping bags (specialized for hammock use or adapted traditional options)
Weather Protection:
* Tarps/rainflies (varying sizes from minimal to full winter protection)
* Guy lines and stakes for securing your tarp
Bug Protection:
* Integrated or separate bug nets to keep insects at bay
* Permethrin treatments for additional protection
Optional Accessories:
* Organizers (ridgeline pouches, gear hammocks)
* Pillow solutions
* Drip lines (to prevent water running down suspension into hammock)
Many modern camping hammock sets with bug nets include integrated insect protection, simplifying your packing process while ensuring comfort in buggy conditions. Understanding these components helps you prioritize what’s truly necessary for your specific hiking environment.
Preparing Your Gear for Optimal Packing
Efficient packing begins with thoughtful preparation of your gear. Before attempting to stuff everything into your backpack, take time to optimize each component:
Evaluate and minimize – Replace heavier components with lightweight alternatives where possible. For example, switching from aluminum carabiners to titanium versions can save 0.5-1 oz (14-28 g) per piece.
Waterproof critical items – Use waterproof stuff sacks for your hammock and insulation. A wet sleeping system makes for miserable nights and adds unnecessary weight.
Organize small components – Group and store small items like stakes, carabiners, and cordage in dedicated pouches to prevent them from disappearing into the depths of your pack.
Consider dual-purpose gear – Look for items that serve multiple functions to reduce overall weight. A tarp can double as a ground cloth for breaks, while a bandana can serve as both a washcloth and a pre-filter for water.
Pre-trip inspection – Check all components for damage, particularly suspension systems which are critical for safety.
A methodical approach to gear preparation significantly impacts your packing efficiency. Learning the principles of ultimate guide ultralight hammock selection and maintenance can make a substantial difference in both pack weight and volume.
Choosing the Right Backpack for Hammock Camping
The backpack itself plays a crucial role in how efficiently you can pack and access your hammock system. Unlike tent camping where bulky poles often dictate pack shape, hammock camping allows for more flexible packing configurations:
Ideal Backpack Capacity:
* 40-50 liters (2,440-3,050 cubic inches) for 2-3 day trips in mild conditions
* 50-65 liters (3,050-3,970 cubic inches) for longer trips or cold-weather camping requiring additional insulation
Key Features for Hammock Backpackers:
* External attachment points for securing tarps that may need to dry while hiking
* Large mesh outer pockets for quick access to suspension systems or rain gear
* Roll-top or extendable designs that compress effectively when not fully loaded
* Comfortable hip belts for distributing weight properly during long days on trail
Material Considerations:
* Lightweight but durable fabrics like Dyneema Composite Fabric (DCF) or ripstop nylon
* Water-resistant treatments or built-in pack liners for rainy conditions
* Reinforced bottom sections that can withstand being set down at multiple camps
When organizing your pack, effective lightweight hammock gear organization systems ensure you can quickly find what you need without unpacking everything at each stop.

Strategic Packing Principles for Balance and Access
Proper weight distribution and accessibility are fundamental to comfortable long-distance hiking. The way you arrange your hammock system within your backpack affects your stability, comfort, and efficiency on the trail:
Balance the load – Position heavier items (food, water, cooking gear) centered against your back and at mid-height in your pack. This creates a stable center of gravity that won’t pull you backward or make you top-heavy.
Prioritize by need – Organize gear based on when you’ll need it during the day:
* Frequently needed items (snacks, water, navigation) in top pockets or hip belt compartments
* Camp setup items (tarp) in easily accessible locations for quick deployment in rain
* Sleep system components (hammock, insulation) deeper in the pack for later useProtect from moisture – Implement redundant waterproofing strategies:
* Use waterproof stuff sacks for critical items
* Consider a pack liner (trash compactor bag works well)
* Keep rain gear accessible for quick protection of pack during downpoursCompress effectively – Understand proper hammock compression techniques to minimize volume without damaging materials. Air is your enemy when packing—remove as much as possible without stressing seams or insulation.
These principles create a foundation for efficient packing, regardless of the specific components in your hammock system.
Packing Your Hammock Components: Step-by-Step Approach
Let’s break down the specific techniques for each component of your hammock system:
Hammock Body:
* Stuff rather than fold to prevent creating permanent creases that can become weak points
* Compress from bottom to top, forcing air out through the opening
* Use a stuff sack sized appropriately—too large and you waste space, too small and you stress seams
* Expected packed size: Approximately 6×4 inches (15×10 cm) for most lightweight models
Tarp/Rainfly:
* Snake-skins (tubular sleeves) allow for quick deployment and pack-up while keeping most of the tarp dry
* Alternatively, accordion fold first lengthwise, then width-wise, squeezing air out methodically
* Keep in an accessible pack location if rain is in the forecast
* Consider a separate stuff sack if frequently wet to isolate from dry gear
Insulation Systems:
* Underquilts: Stuff loosely first, then compress gradually to avoid clumping insulation
* Top quilts/sleeping bags: Start at foot end, rolling to push air toward the head opening
* Use compression straps only tight enough to reduce volume—over-compression can damage insulation
* Place at the bottom of your pack where compression is less problematic
Suspension System:
* Coil straps neatly without kinks to prevent tangling
* Store hardware (carabiners, toggles) in small pouches to prevent damaging other gear
* Keep suspension separate from the hammock to allow for drying if wet and easier setup
Bug Net (if separate):
* Pack loosely to prevent damaging fine mesh
* Keep away from sharp objects that could tear the material
Accessories Organization:
* Use dedicated pouches for small items
* Consider using pack dividers to create specific zones for different gear categories
Complete camping hammock systems often include purpose-designed stuff sacks that complement each component, making this organizational system even more effective.
Integrating Other Essential Gear Around Your Hammock System
A well-packed backpack integrates your hammock system with other necessary gear in a logical, balanced arrangement:
Food Storage:
* Position at mid-height against your back for optimal weight distribution
* Use as a stable core around which softer items like clothing can be packed
* Keep separate from hammock equipment in case of leaks or spills
Clothing Organization:
* Stuff into spaces around more rigid items to maximize space efficiency
* Consider vacuum compression bags for bulky insulated clothing
* Keep rain gear and active layers accessible at the top or in outer pockets
Water Systems:
* Distribute weight evenly on both sides of pack if carrying multiple containers
* Position water filters or purification methods in accessible side pockets
* Keep hydration reservoirs against your back, within the pack, with hose routed for easy drinking
Electronics and Essentials:
* Store in water-resistant pouches in upper sections of the pack
* Group similar items together (charging cables, batteries, headlamps)
* Keep first aid supplies in a consistent, easily located position
Personal Items:
* Use hip belt pockets for immediate needs (snacks, lip balm, sunscreen)
* Consider a small chest pack for camera, phone, or navigation tools


Camping Hammock Sets with Bug Net, Ultralight Camping Hammock Sets
$139.72 Select options This product has multiple variants. The options may be chosen on the product page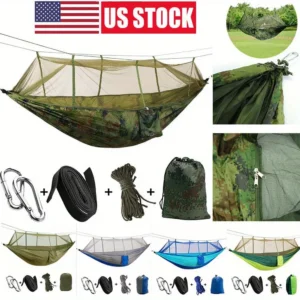
Camping Hammock Sets with Bug Net, Complete Camping Hammock Systems
Price range: $82.73 through $97.96 Select options This product has multiple variants. The options may be chosen on the product page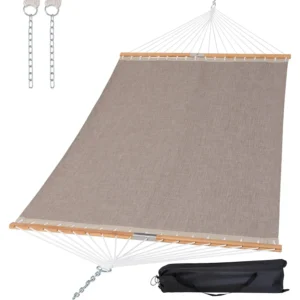
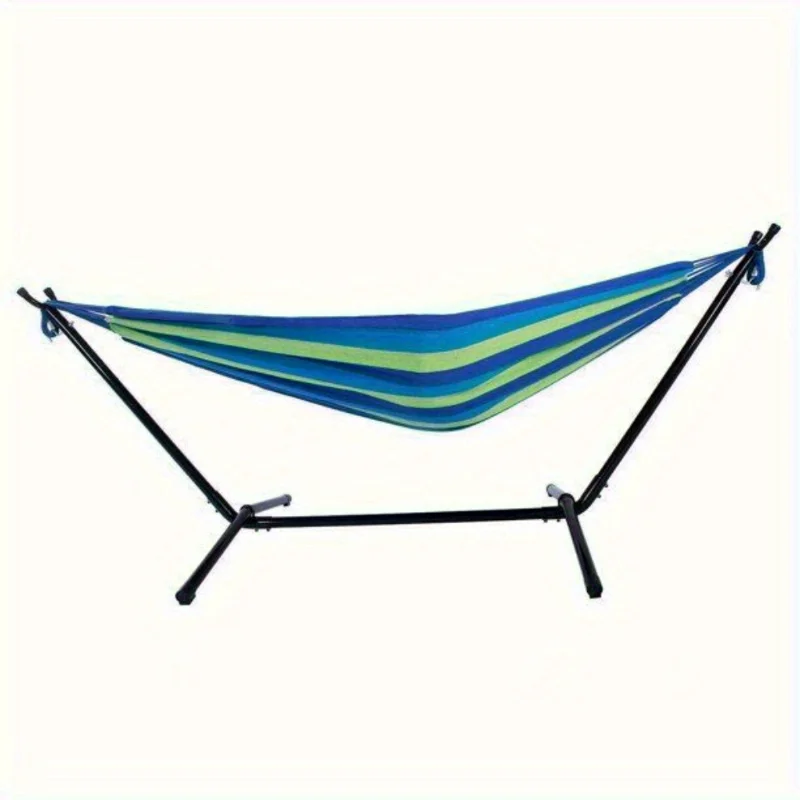
Lightweight Hammock Sets, Spreader Bar Hammock Sets
$292.43 Select options This product has multiple variants. The options may be chosen on the product page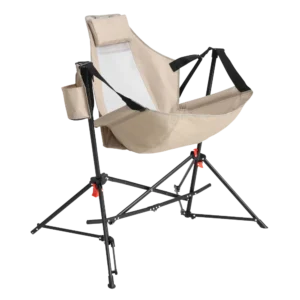
Folding Hammock Sets, Lightweight Hammock Sets
$295.80 Select options This product has multiple variants. The options may be chosen on the product page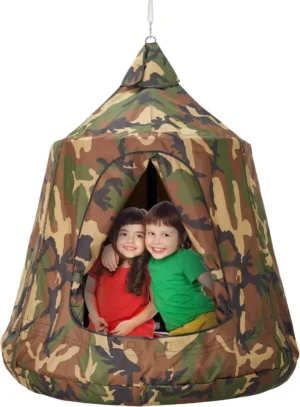

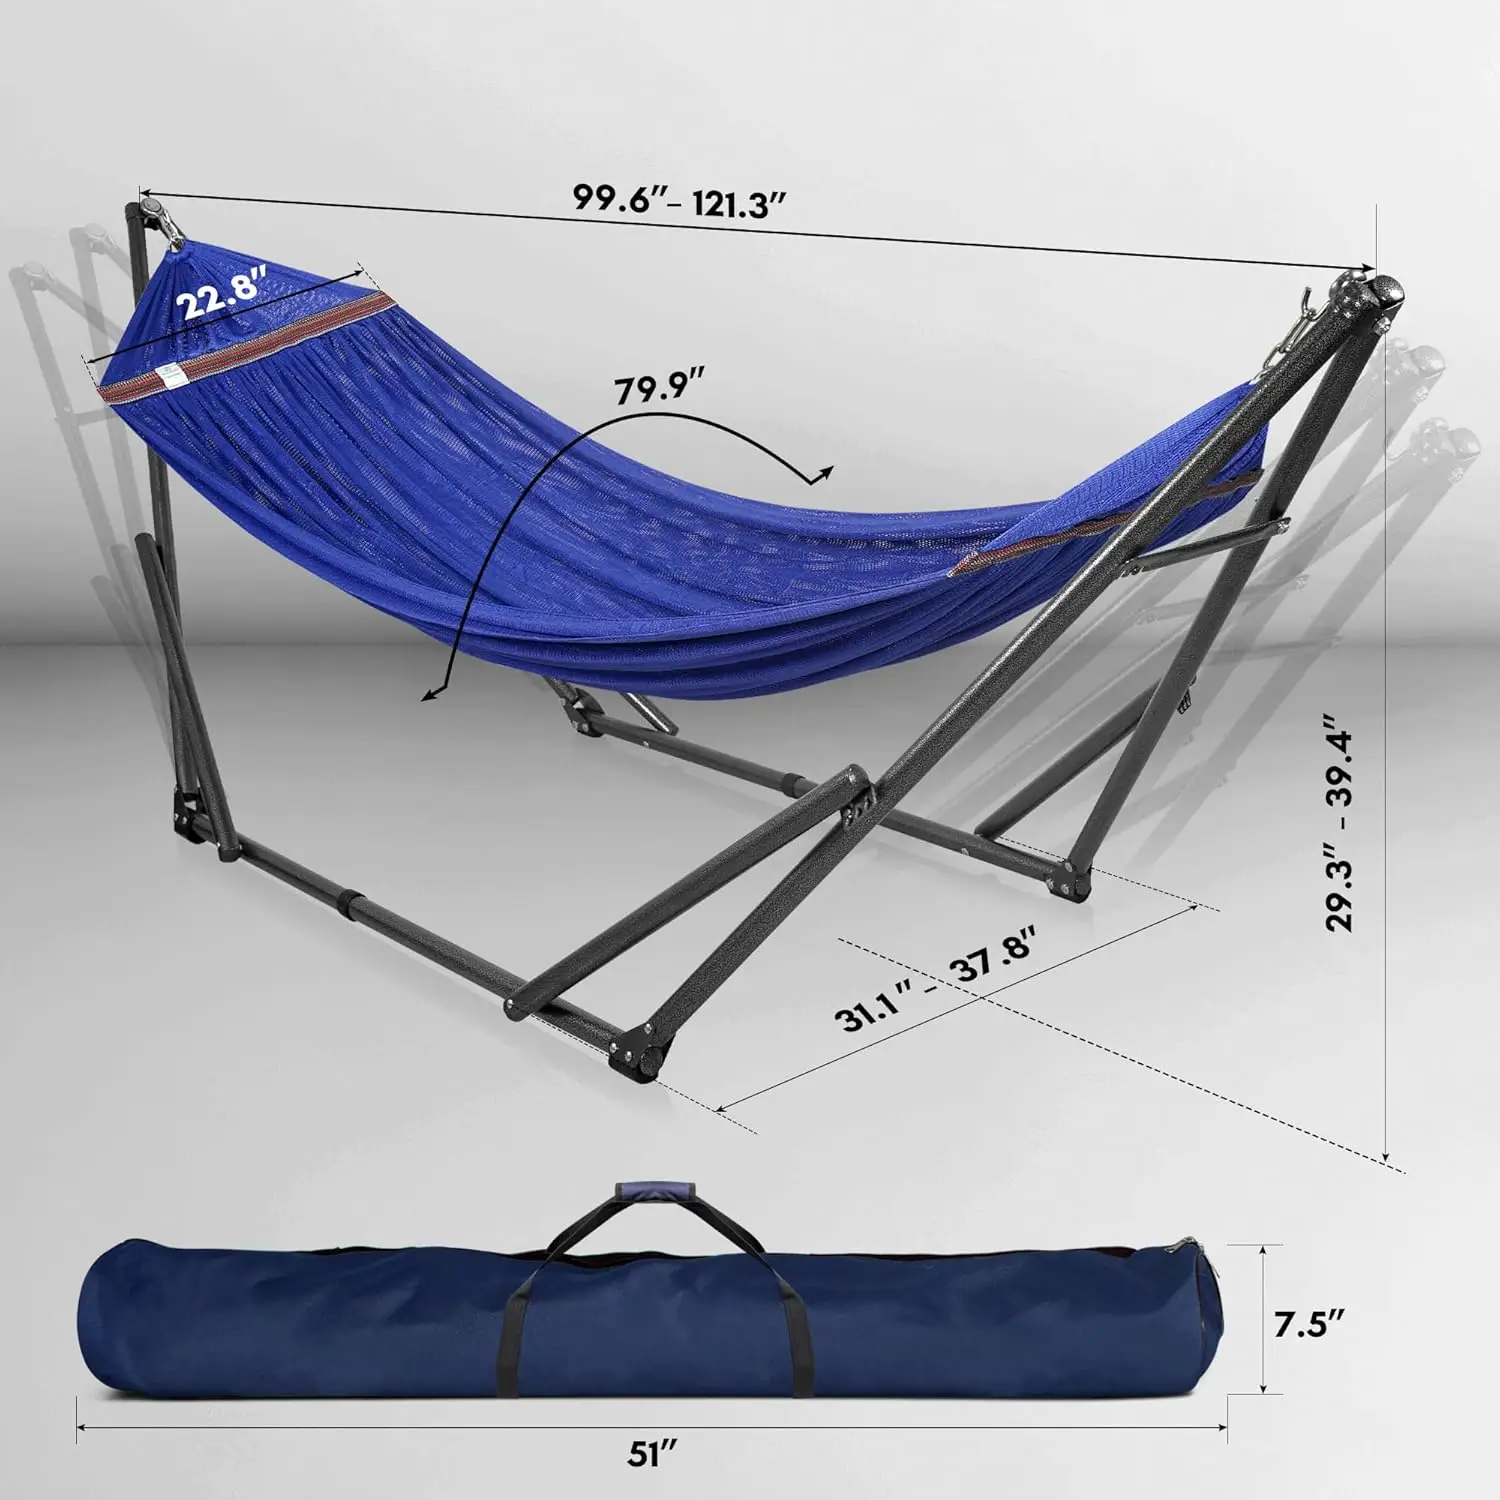
Complete Camping Hammock Systems, Hanging Egg Chair Sets
$266.73 Select options This product has multiple variants. The options may be chosen on the product page
Complete Camping Hammock Systems, Folding Hammock Sets, Lightweight Hammock Sets, Quick Setup Hammock Sets
$255.54 Select options This product has multiple variants. The options may be chosen on the product page
When planning extended trips, premium camping hammocks with stands might be your go-to for home setup and testing, but on the trail, it’s all about efficient integration of components that pack down small.
Advanced Space-Saving Techniques for Ultralight Hammockers
Experienced hammock backpackers develop specialized techniques to further reduce pack volume and weight:
Eliminate redundant containers – Transfer food to ziplock bags, remove excess packaging before your trip, and consolidate small items into multi-use containers.
Use clothing as multi-purpose items – A stuffed jacket makes an excellent pillow, eliminating the need for a dedicated camp pillow.
Deploy the “burrito method” – Roll your hammock, underquilt, and top quilt together when breaking camp in dry conditions for faster packing and setup the next night.
Utilize dead space – Stuff socks, gloves, or other small soft items inside cooking pots or mugs.
Consider modular components – Hammock systems that allow separation of bug nets or integrated tarps provide flexibility in varying conditions.
Replace stuff sacks with lightweight alternatives – Use silnylon or Dyneema stuff sacks instead of heavier options provided by manufacturers.
Learn critical knots – Mastering adjustable knots can reduce the hardware needed for your suspension system.
As you refine your system, ultralight hammock setup guide techniques can further streamline both your gear list and packing approach.
Managing Weather Challenges: Packing for Quick Setup and Dry Storage
Foul weather presents unique challenges for hammock campers. Prepare for these situations with strategic packing:
For Rainy Conditions:
* Pack your tarp in the most accessible part of your pack for immediate deployment
* Develop a “tarp-first” setup routine—establish shelter before unpacking other components
* Use waterproof stuff sacks with distinctive colors to quickly identify components in low visibility
* Keep a small pack towel accessible to dry suspension points or wipe down wet surfaces
Managing Wet Gear:
* Separate wet and dry components using waterproof barriers
* Utilize external mesh pockets for temporary storage of wet tarps during breaks in rainfall
* Pack a dedicated “wet stuff sack” for isolating damp gear from dry equipment
* Position wet items away from insulation and sleeping components
Morning Condensation Strategy:
* Allow time for wiping down gear before packing when possible
* If rushing to break camp, pack hammock and tarp separately from insulation
* Use the lunch break as an opportunity to air out damp morning gear
Selecting lightweight hammock sets with quick-drying materials can significantly improve your experience when dealing with wet conditions on long hikes.
On-Trail Efficiency: Streamlining Your Daily Pack and Unpack Routine
Developing consistent routines dramatically improves your efficiency on long hikes:
Morning Breakdown Routine:
1. Pack sleeping insulation first while still in hammock (approximately 2 minutes)
2. Dismantle hammock and suspension system (about 3 minutes)
3. Take down tarp last to provide cover during packing (around 2 minutes)
4. Organize and insert components into backpack in consistent locations (3 minutes)
With practice, the entire process can be completed in under 10 minutes, leaving more time for hiking or enjoying your morning coffee.
Quick-Access Systems:
* Develop consistent placement for frequently used items
* Create mental “maps” of where everything belongs in your pack
* Use different colored stuff sacks for quick visual identification
Rest Stop Protocol:
* Place pack on a protective surface or hang from a tree during breaks
* Develop a abbreviated unpack/repack routine for lunch stops
* Keep essential items accessible without needing to open main pack compartment
Following principles from the ultimate guide packability lightweight hammocks can help you refine these routines over time to match your specific needs and preferences.
Conclusion: Refining Your System Through Experience
Mastering hammock packing for long hikes is an evolving process that improves with each trip. While this guide provides a solid foundation, your personal experience will ultimately shape your optimal system.
Start with shorter “shakedown hikes” before committing to long-distance treks. These trial runs reveal what works for your specific gear and preferences, allowing you to make adjustments before heading deep into the backcountry.
Remember that the perfect packing system balances efficiency, accessibility, and protection. As seasons change and different environments present new challenges, be willing to adapt your approach accordingly.
The rewards of a well-optimized hammock setup are substantial—lighter loads, better sleep, and the freedom to camp in spectacular locations inaccessible to traditional tent users. With practice, your hammock system will become second nature, allowing you to focus less on gear management and more on the incredible landscapes around you.
For those looking to fully embrace this versatile shelter system, exploring comprehensive backpacking compact hammock guide resources can provide additional insights tailored to your specific hiking environments.