
Understanding the Need for Quilted Hammock Solutions
The Hammock Temperature Challenge
Have you ever settled into your hammock on a cool evening only to experience that uncomfortable chill creeping up from below? What you’re feeling is commonly known as “Cold Butt Syndrome” (CBS) – a genuine challenge for hammock enthusiasts caused by convective heat loss. Unlike ground sleepers, hammock users face a unique problem: your body weight compresses the insulation beneath you, whether it’s in your sleeping bag or clothing.
This compression creates a serious thermal efficiency problem. When insulation is compressed, it can lose 20-30°F of effective temperature rating. That’s because insulation works by trapping warm air in tiny pockets, and when compressed, these pockets disappear. With the average human body temperature of 98.6°F, even a mild 60°F evening can quickly become uncomfortable as your body heat escapes into the surrounding air.
The problem becomes particularly challenging due to hammock geometry. Unlike a flat sleeping surface, a hammock creates a curved profile around your body that increases surface area exposure to cool air, especially underneath. Standard sleeping bags simply aren’t designed for this curved shape, leaving gaps where cold air can intrude.
• Common temperature-related hammock issues:
• Bottom insulation compression resulting in heat loss
• Increased exposure to air flow underneath the hammock
• Seasonal challenges requiring different insulation approaches
• Inability of standard sleeping gear to conform to hammock shape
Proper indoor-outdoor hammock placement significantly impacts these temperature challenges, but specialized quilting solutions address the root cause of the problem.
Pressure Point Problems in Hammocks
Beyond temperature concerns, standard hammocks create uncomfortable pressure points that can significantly diminish your relaxation experience. The human body has several vulnerable areas – particularly the shoulders, hips, and tailbone – that bear excessive weight when lying in a hammock. Without proper cushioning, these areas experience concentrated pressure that can cause numbness, discomfort, and even pain during extended use.
In an average hammock, pressure can concentrate to 2-3 pounds per square inch on bony prominences like shoulder blades or hip bones – enough to restrict blood flow and cause discomfort within 30-45 minutes. This problem is compounded by improper hanging techniques, which can create uneven weight distribution and further concentrate pressure on specific body areas.
Understanding how quilted vs non-quilted hammocks perform reveals significant differences in pressure distribution. The strategic addition of quilted layers can transform the hammock experience by creating cushioning zones that alleviate these common comfort issues.
How Quilting Transforms Hammock Comfort
The Science of Loft and Insulation
Loft is the key factor that determines insulation effectiveness in quilted hammock gear. It refers to the thickness of the insulating layer when not compressed. This thickness creates “dead air space” – small pockets of air that your body heats up and that remain trapped within the insulation. The more loft your quilt has, the more warm air it can trap, and the better insulation it provides.
Quilted chambers excel at maintaining this critical loft. By creating separate compartments through strategic stitching patterns, quilting prevents insulation from shifting or clumping. For example, just 2 inches (5 cm) of evenly distributed loft can provide approximately 20°F of temperature protection, while the same amount of insulation that has shifted leaves cold spots with virtually no protection.
The physics behind this is straightforward: heat transfer occurs from warmer objects (your body) to cooler ones (the surrounding air). By creating an effective barrier of trapped air, quilting significantly slows this heat transfer. The effectiveness of insulation is often measured in R-value, with higher values indicating better insulation properties. A well-designed quilted hammock layer typically achieves R-values of 2.5-5, comparable to many indoor bedding solutions.
Unquilted or poorly designed hammock insulation simply cannot maintain this consistent barrier. Without quilting, insulation shifts toward the sides or ends of the hammock, leaving the critical center area where your body rests inadequately protected from heat loss.
Further unveiling unmatched comfort quilted hammocks provide reveals the detailed science behind effective hammock insulation systems.
Structural Benefits Beyond Temperature Control
While temperature regulation remains the primary focus of hammock quilting, the structural advantages offer equally important benefits. Properly designed quilting creates a more stable hammock system that maintains its shape during use. This stability translates directly into improved comfort by preventing the hammock from wrapping too tightly around your body – a common issue known as the “cocoon effect” that can feel restrictive.
Quilted layers excel at distributing pressure evenly across the body. Independent testing shows that quilted systems can reduce pressure points by up to 60% compared to unquilted options by spreading weight across a larger surface area. This pressure distribution is particularly important for side sleepers and those with sensitive joints.
• Additional structural benefits of quilted hammock designs:
• Prevention of insulation shifting during movement
• Enhanced durability (properly quilted gear often lasts 5+ years of regular use)
• Improved stability that reduces swaying and rocking motions
• Better adaptation to different body types and sleeping positions
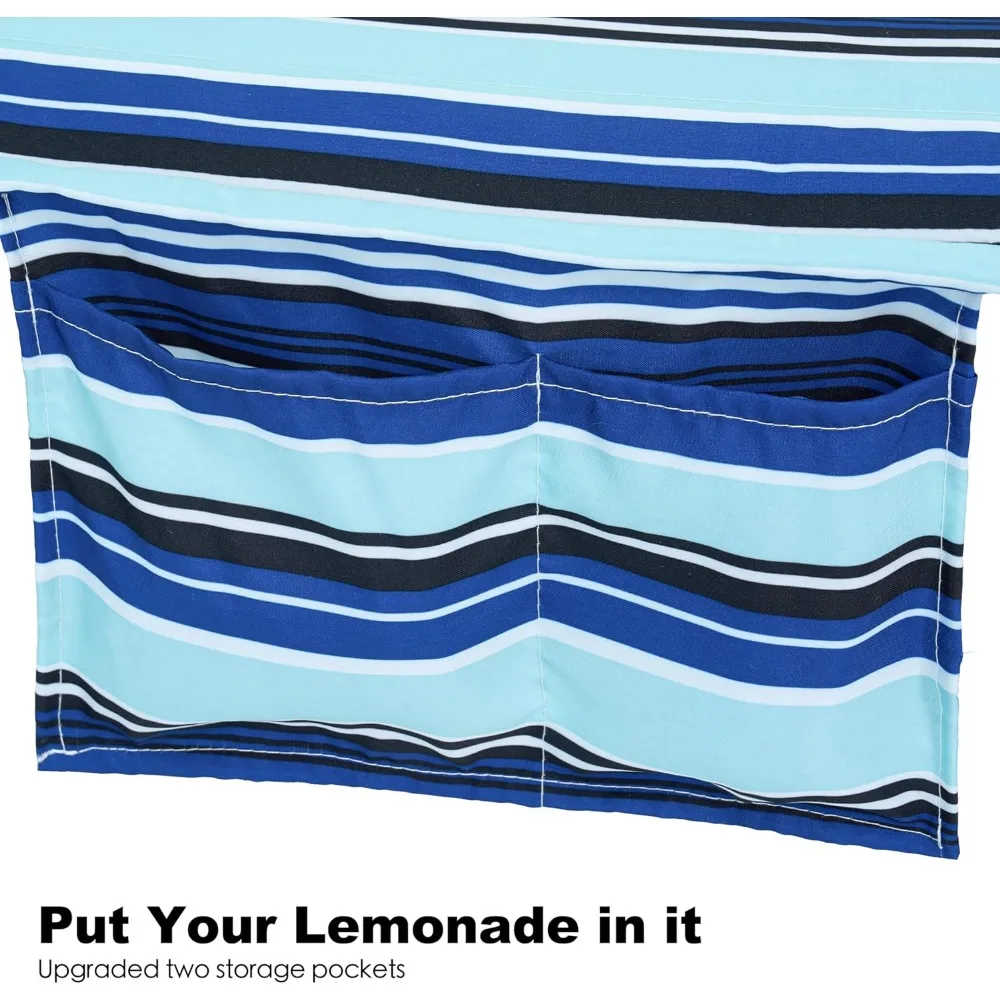
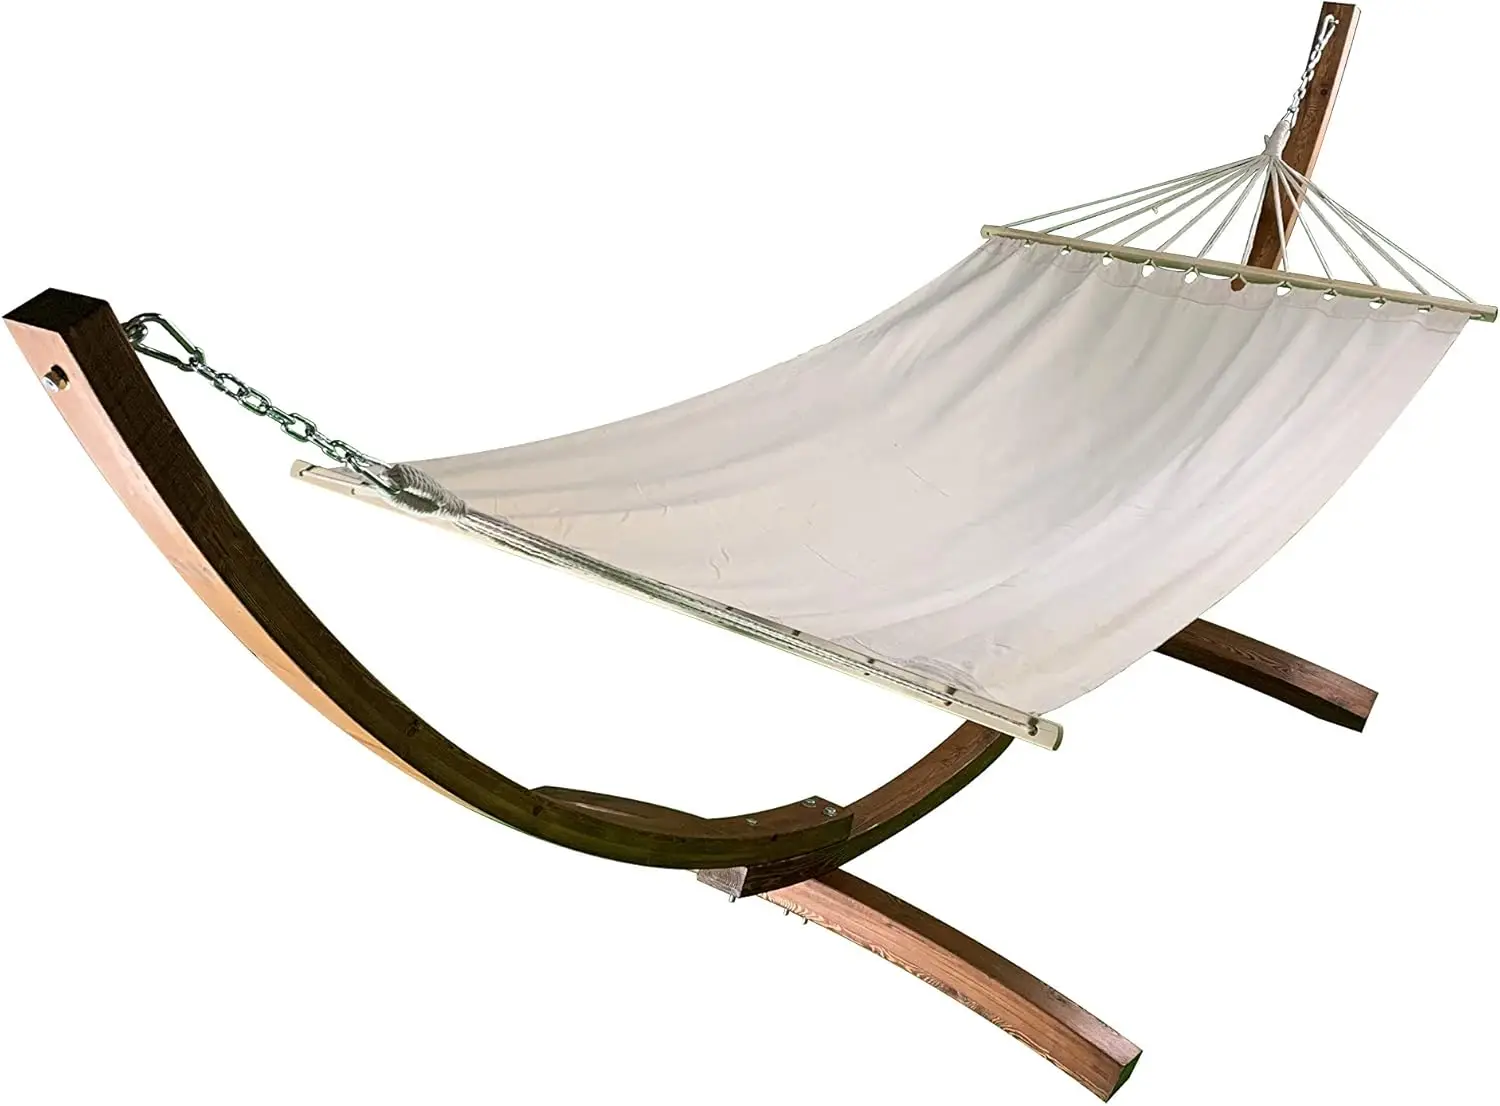
Our selection of quilted fabric hammock sets demonstrates these practical applications of quilting technology in commercial hammock designs.
Essential Quilting Designs for Hammock Underquilts
Baffle Systems: The Foundation of Effective Quilting
Baffles are the internal walls or dividers within quilted hammock gear that create separate chambers for insulation. These structural elements serve the critical purpose of maintaining even loft distribution while allowing the insulation to fully expand to its maximum thickness. Without proper baffle design, even the highest quality insulation will fail to perform effectively.
Vertical baffles run from top to bottom of the underquilt and excel at conforming to the natural curve of your body in the hammock. This design allows insulation to shift slightly from side to side, which helps it adapt to your specific body shape. Vertical baffles work particularly well for underquilts because they naturally follow the curve of the hammock itself.
Horizontal baffles run perpendicular to the length of the quilt and offer manufacturing simplicity and reliable performance. The main advantage is preventing insulation from migrating from top to bottom, keeping critical areas like the torso and feet consistently insulated. However, horizontal baffles can sometimes create cold spots at the baffle seams if not properly designed.
Box baffles represent the premium approach to hammock underquilt design. By creating three-dimensional chambers with vertical walls between the inner and outer shell fabrics, box baffles allow for maximum loft expansion. This design typically adds 0.5-1.5 inches (1.3-3.8 cm) of additional loft compared to simpler baffle designs, resulting in superior insulation performance. The trade-off is increased manufacturing complexity and weight.
Karo step baffling uses a distinctive diamond pattern that provides excellent insulation stability. This design prevents insulation shifting in multiple directions simultaneously and offers good durability. For hammock underquilts, karo step designs often provide the best balance of weight, performance, and manufacturing feasibility.
Partial baffles (sometimes called “V-baffles”) use incomplete dividers to save weight while still providing reasonable insulation control. This ultralight approach is popular among minimalist hammock campers but sacrifices some thermal efficiency for weight savings.
For optimal performance, baffle spacing typically ranges from 5-7 inches (12-18 cm) for down insulation, with synthetic insulation often requiring slightly wider chambers. Baffle height directly correlates to temperature rating – taller baffles allow for more loft and thus better insulation in colder conditions.
Specialized camping hammock sets with bug net often feature integrated baffle systems designed for optimal thermal performance in wilderness settings.
Differential Cut: Creating the Perfect Fit
Differential cut represents one of the most sophisticated yet essential concepts in hammock underquilt design. This technique addresses a fundamental geometric challenge: the outer shell of the quilt must cover more surface area than the inner shell when wrapped around the hammock. By purposely cutting the outer shell fabric larger than the inner shell, differential cut creates space for insulation to fully loft even when the quilt is hung in its curved shape.
The mathematics behind differential cut is precise – typically requiring a 2-3 inch (5-7.5 cm) difference between inner and outer shell dimensions. This seemingly small adjustment makes a dramatic difference, preserving up to 90% of potential insulation loft compared to non-differential designs that may only achieve 60-70% efficiency. Without proper differential cut, the outer shell fabric pulls tight, compressing the insulation and creating cold spots.
When properly implemented, differential cut allows the underquilt to hang naturally around the hammock without tension that would compress the insulation. This creates a consistent insulating layer that follows the contour of your body, eliminating cold spots and maximizing thermal efficiency.
Chamber Design and Insulation Stability
The internal chamber architecture of hammock underquilts determines how effectively insulation stays distributed during use. Two primary approaches exist: continuous chambers and isolated chambers, each with distinct performance characteristics.
Continuous chambers allow insulation to shift within defined channels, typically running the length or width of the quilt. This design permits manual readjustment of insulation, moving it to areas where you need more warmth. However, continuous chambers also require more frequent maintenance, as the insulation naturally migrates away from high-pressure areas over time. Many users find themselves “fluffing” or redistributing insulation before each use.
Isolated chambers, by contrast, completely separate insulation into individual pockets, preventing any migration between sections. This approach ensures consistent insulation coverage but eliminates the ability to adjust insulation placement for different conditions or body types. The trade-off for this consistency is typically added weight from additional stitching and slightly reduced overall loft at the chamber dividers.
Understanding whether your hammock will be used primarily indoors in a safe environment or outdoors in changing conditions can help determine which chamber design best suits your needs.
Topquilt Quilting Considerations
Footbox Designs: Balancing Warmth and Versatility
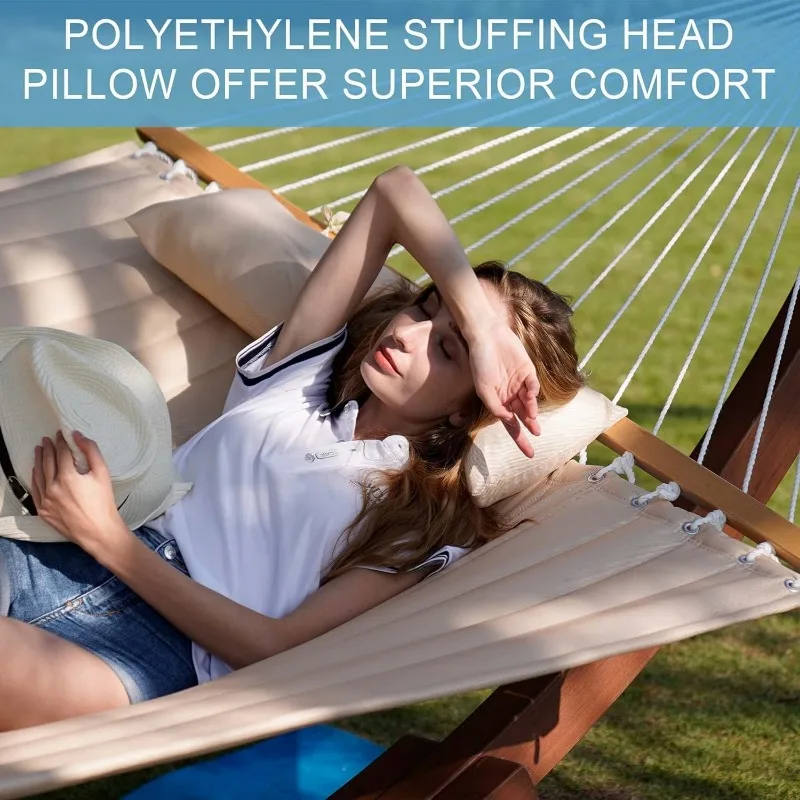
The footbox – the section of a topquilt that encloses your feet – represents a critical design element that balances warmth with adaptability. Sewn closed footboxes offer maximum thermal efficiency by eliminating any potential drafts around your feet. These permanent enclosures typically extend 20-24 inches (50-61 cm) from the bottom edge and provide approximately 5-10°F more warmth than convertible alternatives in the foot area.
Convertible footboxes use drawstrings, zippers, or snap systems to create an adjustable enclosure. While sacrificing some thermal efficiency, these designs offer significant versatility. On warmer nights, you can open the footbox completely to use the topquilt as a flat blanket. During transitional seasons when temperatures fluctuate, this adaptability proves invaluable despite weighing slightly more than sewn designs.
Quilting patterns around footboxes require special consideration regardless of design. Tapered baffles that narrow toward the feet help maintain consistent insulation depth despite the reduced space. Some advanced designs incorporate extra insulation in the footbox area to counteract the fact that feet often get colder than the core body.
Horizontal vs. Vertical Baffling for Topquilts
The orientation of baffles in topquilts significantly impacts how they drape over your body in a hammock. Horizontal baffles run perpendicular to the length of the quilt and excel at providing even coverage across the width of your body. This design helps the quilt wrap around you more naturally in a hammock’s curved position, reducing gaps where cold air might infiltrate.
Vertical baffles offer different advantages for topquilts. Running parallel to the quilt’s length, they allow insulation to shift downward toward your feet where many people need extra warmth. This design also tends to be lighter by 1-2 ounces (28-57 grams) due to requiring less total stitching. However, vertical baffles can sometimes create uneven coverage when the quilt is wrapped around the body.
For side sleepers or those who move frequently during sleep, horizontal baffles typically prevent cold spots more effectively. Active sleepers often report fewer “cold spots” with horizontal designs because insulation stays more consistently distributed across the body. Those who sleep still and prefer to customize their insulation distribution might prefer vertical baffles.
Spreader bar hammock sets often pair well with horizontally baffled topquilts due to their flatter sleeping surface that complements this baffle orientation.
Material Selection for Quilted Hammock Gear
Shell Fabrics: Balancing Weight and Durability
The outer and inner shell fabrics of quilted hammock gear serve multiple crucial functions: containing insulation, blocking wind, repelling moisture, and standing up to regular use. Selecting appropriate fabrics requires balancing competing priorities of weight, strength, and performance.
Nylon remains the most popular shell fabric choice due to its exceptional strength-to-weight ratio. Varieties like 10D (denier), 15D, and 20D ripstop nylon offer progressively greater durability at the cost of additional weight. A 10D nylon shell typically weighs about 0.7 ounces per square yard (24 g/m²), while 20D weighs approximately 1.2 ounces per square yard (41 g/m²). For underquilts that face abrasion against tree straps or occasional ground contact, 20D or higher is generally recommended for the outer shell.
Polyester alternatives offer better UV resistance and maintain their water repellency longer than nylon. However, polyester typically weighs 10-15% more than equivalent-strength nylon and doesn’t pack down quite as small. For hammock gear used frequently in sunny conditions, this trade-off may be worthwhile as UV exposure can significantly degrade nylon over time.
Key fabric properties to evaluate include:
• Downproofness: Prevents small down feathers from escaping through the fabric
• Calendaring: A finishing process that creates a smoother, more downproof surface
• DWR (Durable Water Repellent) treatment: Causes moisture to bead up rather than soak in
• Breathability: Allows water vapor to escape, preventing condensation inside the quilt
• Colorfastness: Resistance to fading from sun exposure
Specialized ultralight fabrics have revolutionized hammock quilting in recent years. Materials with names like “Membrane 7D” or “Quantum” can weigh as little as 0.5 ounces per square yard (17 g/m²) while still containing insulation effectively. These premium fabrics typically add $30-50 to the cost of a quilt but can reduce weight by 2-4 ounces (57-113 grams) – a significant savings for backpackers.
Our ultralight camping hammock sets showcase the practical application of these advanced lightweight materials in real-world hammock systems.
Insulation Types: Choosing Your Thermal Medium
The insulation you select forms the core of your quilted hammock system’s thermal performance. Understanding the properties of different options helps ensure your gear meets your specific needs.
Down insulation represents the gold standard for warmth-to-weight ratio in hammock quilts. Its effectiveness is measured in fill power – the volume in cubic inches that one ounce of down fills under standardized pressure. Higher numbers indicate better insulating quality:
• 650-700 fill power: Good quality, affordable down with solid performance
• 800-850 fill power: Premium down with excellent compression and loft recovery
• 900+ fill power: Ultra-premium down offering maximum warmth for minimum weight
For a typical 20°F (-7°C) rated underquilt, you might need 14 ounces (400 g) of 700 fill power down, but only 11 ounces (310 g) of 850 fill power down – a significant weight savings for backpackers.
Synthetic insulation offers distinct advantages despite being heavier and less compressible than down. Materials like Climashield APEX and PrimaLoft maintain most of their insulating properties when wet – a crucial consideration for humid environments or rainy climates. Synthetic quilts typically weigh 20-30% more than comparable down versions but cost 25-40% less and require less meticulous care.
Water resistance considerations should influence your insulation choice. Traditional down loses most of its insulating ability when wet and can take days to dry completely. However, modern hydrophobic down treatments resist moisture absorption and maintain up to 70% of insulation value when damp, bridging the gap between down and synthetic performance.
Ethical sourcing remains an important consideration for down products. Look for certifications like RDS (Responsible Down Standard) or Global TDS (Traceable Down Standard) that ensure humane treatment of birds. These certified products typically cost 5-10% more but provide assurance that your gear doesn’t contribute to animal welfare issues.
DIY Quilted Hammock Gear: Essential Techniques
Basic Tools and Materials for DIY Projects
Creating your own quilted hammock gear requires specific tools and materials, but the project remains accessible even for those with basic sewing skills. Here’s what you’ll need to get started:
Essential Tools:
• Sewing machine capable of straight and zigzag stitches
• Sharp fabric scissors or rotary cutter with mat
• Measuring tape and straight edge
• Fine pins or clips for delicate fabrics
• Marking tools (chalk, erasable fabric pen)
• Needles appropriate for lightweight fabrics (size 70/10 or 80/12)
Specialized Notions:
• Grosgrain ribbon (1/2 inch/12mm width) for reinforcements
• Cord locks for adjustable components
• No-see-um netting for ventilation sections
• Shock cord (1/8 inch/3mm) for suspension systems
• Lightweight snaps or buckles for closures
For a complete DIY underquilt, expect to spend $100-180 on materials, compared to $250-350 for comparable commercial options. The most significant cost will be quality insulation, which represents approximately 50-60% of your materials budget.
Pattern resources have become increasingly available online, with many hammock forums offering free templates and detailed guides. Some experienced makers offer affordable digital patterns ($5-15) with comprehensive instructions that significantly flatten the learning curve for beginners.
Understanding proper hammock installation requirements and safety guides is essential for ensuring your DIY creation functions safely and effectively in real-world conditions.
Simplified Underquilt Construction Technique
Creating a functional underquilt remains one of the most impactful DIY projects for hammock comfort. This simplified approach focuses on effectiveness rather than complexity:
Cut your shell fabrics: Inner shell slightly smaller than outer shell (by approximately 2-3 inches/5-7.5 cm in both width and length) to create differential cut. For a universal fit underquilt, dimensions of approximately 44 × 72 inches (112 × 183 cm) for the outer shell and 40 × 68 inches (102 × 173 cm) for the inner shell work well for most hammocks.
Create baffle channels: Sew vertical or horizontal strips of lightweight fabric between your shells, creating channels approximately 5-7 inches (12.5-17.5 cm) wide. For beginners, horizontal baffles are easier to construct.
Construct the chamber system: Sew three sides of your shell sandwich together, leaving one end open for adding insulation.
Add insulation channels: Before filling completely, sew internal divider lines to create semi-isolated chambers that prevent insulation migration.
Fill with insulation: Add your chosen insulation material gradually, ensuring even distribution. For a 20°F (-7°C) rated underquilt, approximately 12-14 ounces (340-400 g) of 800 fill power down or 16-18 ounces (450-510 g) of synthetic insulation is typical.
Close the final end: After filling all chambers, carefully sew the open end closed.
Add suspension system: Create channels along both long edges for drawstrings or shock cord, and attach suspension points at each corner.
This simplified approach typically requires 8-12 hours of work spread across multiple sessions, with the most time-intensive steps being baffle construction and careful insulation filling. The material cost savings compared to commercial options typically ranges from $100-150.

Camping Hammock Sets with Bug Net, Ultralight Camping Hammock Sets
$139.72 Select options This product has multiple variants. The options may be chosen on the product page
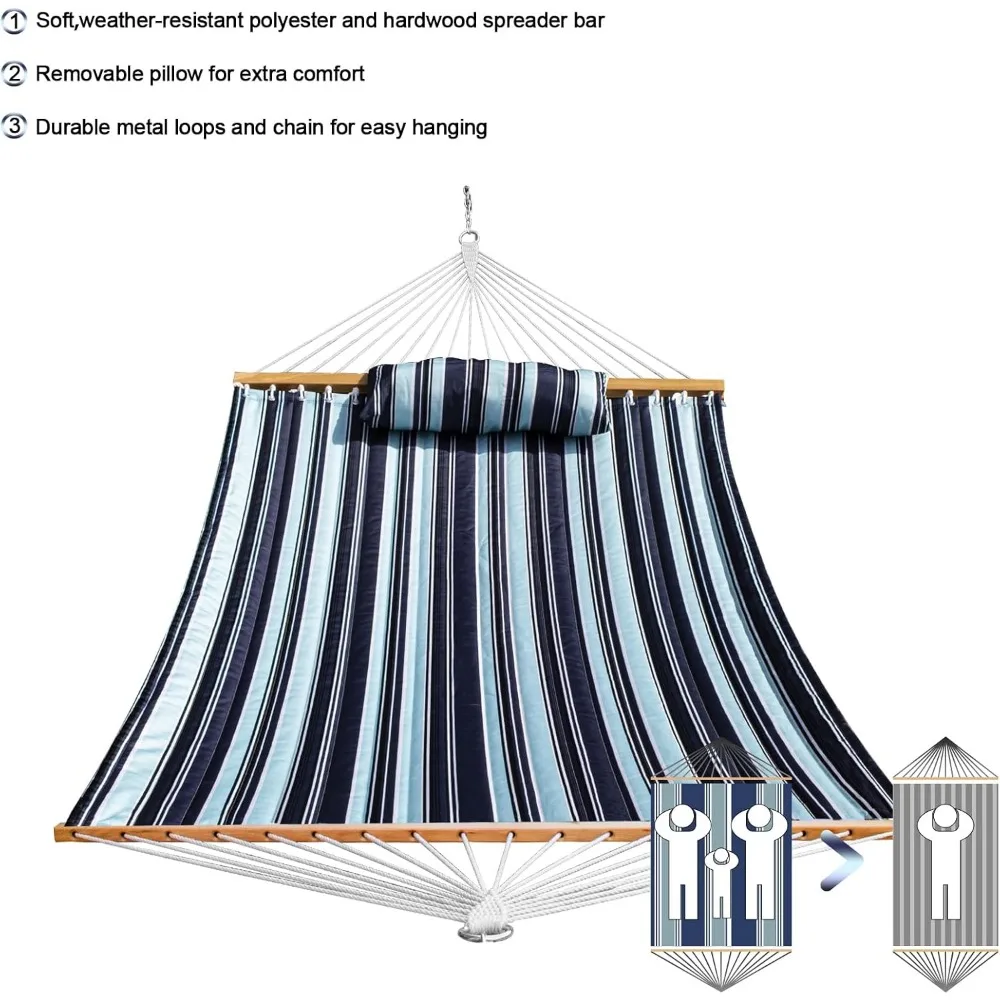
Quilted Fabric Hammock Sets, Spreader Bar Hammock Sets
$195.67 Select options This product has multiple variants. The options may be chosen on the product page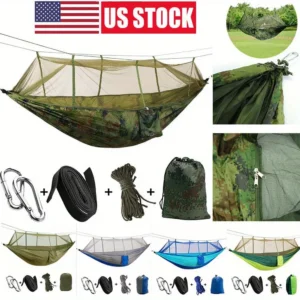
Camping Hammock Sets with Bug Net, Complete Camping Hammock Systems
Price range: $82.73 through $97.96 Select options This product has multiple variants. The options may be chosen on the product page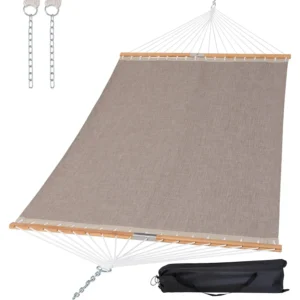
Lightweight Hammock Sets, Spreader Bar Hammock Sets
$292.43 Select options This product has multiple variants. The options may be chosen on the product page

Complete Camping Hammock Systems, Hanging Egg Chair Sets
$266.73 Select options This product has multiple variants. The options may be chosen on the product page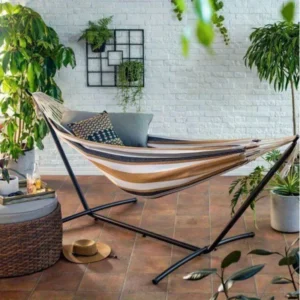
Complete Camping Hammock Systems, Folding Hammock Sets, Lightweight Hammock Sets, Quick Setup Hammock Sets
$255.54 Select options This product has multiple variants. The options may be chosen on the product page
No-Sew and Quick-Start Options
Not everyone has access to sewing equipment or the confidence to tackle a full construction project. These accessible alternatives provide improved hammock comfort with minimal specialized skills:
The sleeping bag conversion method transforms an existing mummy bag into an effective underquilt without cutting or permanent modifications. By running shock cord through the existing draft tubes at the top and bottom of the bag, you create suspension points that hold the bag against the underside of your hammock. This approach retains approximately 70-80% of the sleeping bag’s ground temperature rating and requires just 15-30 minutes to set up. The main limitation is bulk – sleeping bags aren’t designed for this purpose and will be heavier than purpose-built quilts.
Modified blanket approaches use readily available materials like fleece blankets, lightweight comforters, or throws. By adding simple cord locks and shock cord at the corners, these can be gathered around a hammock to provide insulation. This method works effectively to approximately 50-55°F (10-13°C) depending on the blanket’s insulation quality. The advantages include very low cost ($20-30 total) and simplicity, while the primary disadvantage is limited temperature range and potential slippage during the night.
The “Costco Down Throw” modification has become legendary in hammock communities. These widely available 60 × 70 inch (152 × 178 cm) down throws can be easily modified with shock cord channels to create underquilts effective to approximately 45-50°F (7-10°C). The entire project requires just basic hand-sewing skills and about one hour of work. At $20-30 per throw, this remains one of the most cost-effective entry points to hammock insulation.
Finding the best places to hang hammock indoors can help you maximize the effectiveness of these simpler insulation approaches by minimizing environmental challenges.
Fine-Tuning Your Quilted Hammock System
Eliminating Drafts and Cold Spots
Even the best-designed quilted hammock gear requires proper setup and adjustment to perform optimally. These troubleshooting approaches address the most common comfort issues:
Problem: Gap between underquilt and hammock edges
Solution: Adjust suspension to create “wings” that wrap up around the sides of the hammock. Most underquilts perform best when the suspension creates a gentle curve that mirrors the hammock’s natural sag. Proper adjustment can improve effective temperature rating by 5-10°F.
Problem: Cold spots at shoulders or feet
Solution: Add supplemental insulation to these vulnerable areas. Small “shoulder pads” made from closed-cell foam weighing just 1-2 ounces (28-57 g) can eliminate shoulder cold spots. For feet, dedicated “foot pads” or socks worn inside the hammock provide targeted warmth where needed.
Problem: Drafts from wind passing between topquilt and underquilt
Solution: Use a “quilt protector” – a lightweight wind shell that wraps around both quilt layers, creating an integrated system. This simple addition weighing 3-5 ounces (85-142 g) can improve temperature ratings by 10-15°F in windy conditions.
Problem: Shifting during the night disturbs insulation alignment
Solution: Add a simple “quilt lock” system that connects top and underquilt at 2-4 points, preventing them from becoming misaligned during sleep movement. Small mitten hooks or toggles work well for this purpose.
Different hammock types require specific adjustment techniques. Gathered-end hammocks benefit from underquilts with elastic on the ends to create a good seal, while bridge hammocks work best with rectangular underquilts that match their flatter sleeping surface.
Our complete camping hammock systems integrate these draft elimination techniques into cohesive designs that maximize thermal efficiency.
When to Buy vs. DIY: Evaluating Commercial Options
What Makes a Quality Commercial Quilt?
When evaluating pre-made quilted hammock gear, several key indicators help identify quality construction that justifies the investment:
Full-length, properly sized baffles indicate attention to thermal efficiency. Look for baffles that run the appropriate direction for the quilt type (typically vertical for underquilts and horizontal for topquilts) with appropriate spacing of 5-7 inches (12.5-17.5 cm) for down insulation.
Differential cut construction represents a significant quality marker. Quality manufacturers will specifically mention this feature, as it requires more material and complex construction but dramatically improves performance. The outer shell should visibly appear fuller than the inner shell when the quilt is laid flat.
Generous fill quantities relative to temperature ratings suggest honesty in performance claims. A quality 20°F (-7°C) down underquilt typically contains 12-15 ounces (340-425 g) of 800 fill power down, depending on size and baffle design. Manufacturers who disclose specific fill weights demonstrate transparency about performance expectations.
Customization options indicate customer-focused production. The ability to select shell colors, insulation types, temperature ratings, or size adjustments suggests small-batch manufacturing focused on quality rather than mass production.
Temperature ratings remain somewhat subjective in the hammock quilt industry. Unlike sleeping bags, there’s no standardized testing protocol, so view ratings as comparative guidelines rather than guarantees. Quality manufacturers typically rate their quilts conservatively, assuming proper setup and average cold sensitivity.
Quality commercial hammock quilts typically range from $200-350 depending on materials and temperature rating, with premium ultralight models reaching $400+. Features worth paying extra for include differential cut construction, custom sizing options, and premium shell fabrics with effective DWR treatments.
Placing your hammock in the perfect locations around your home and garden complements quality quilted gear by optimizing the overall comfort experience.
Is Quilted Hammock Gear Worth the Investment?
When comparing quilted hammock gear to traditional camping insulation approaches, the specialized design offers clear advantages. Conventional sleeping bags used in hammocks lose approximately 40-50% of their effective insulation due to compression and poor fit, requiring a much warmer (and heavier) bag than would be needed on the ground. In contrast, a properly designed quilt system provides consistent insulation while weighing 20-30% less than comparable sleeping bag setups.
The versatility of quilted hammock gear extends beyond hammock camping. Many underquilts can double as excellent technical blankets for home use, while topquilts function perfectly as ultralight sleeping bags for ground camping when needed. This multi-use capability helps justify the investment for outdoor enthusiasts who enjoy various types of camping.
From a comfort perspective, users consistently report that switching to proper quilted hammock insulation transforms the experience from “tolerable” to “luxurious.” The elimination of compressed insulation points and the customized fit to the hammock’s shape typically yields a 15-20°F improvement in comfortable temperature range compared to adapted conventional gear.
Durability represents another compelling argument for quality quilted gear. Well-constructed hammock quilts typically maintain their insulating properties for 7-10 years of regular use, with many premium models remaining effective well beyond that timeframe with proper care. This longevity, combined with the dramatic comfort improvement, makes quilted hammock gear a worthwhile investment for anyone serious about hammock camping or relaxation.