

Introduction
Hammock chairs have become increasingly popular as versatile relaxation solutions for both indoor and outdoor spaces. These suspended seats offer a unique blend of comfort and style, creating the perfect spot to unwind with a book, enjoy a cup of coffee, or simply sway gently while daydreaming. Installing a hammock chair under a roof—whether it’s a porch ceiling, pergola, or indoor space—provides significant advantages:
- Protection from harsh weather elements, extending the lifespan of your chair
- Year-round enjoyment regardless of sun, rain, or snow
- A dedicated relaxation space that stays clean and ready to use
However, proper installation isn’t just about convenience—it’s a critical safety consideration. Most hammock chairs support between 250-330 pounds, but this capacity depends entirely on correct mounting techniques. Many homeowners struggle with finding load-bearing structures, selecting appropriate hardware, and ensuring their installation will safely support dynamic weight (the force created when you sit down or swing).
This comprehensive guide will walk you through every step of creating your perfect suspended sanctuary, from planning and assessment to installation and maintenance. With the right approach, your hammock chairs for covered porches can provide years of safe, comfortable relaxation.
Planning Your Perfect Hammock Chair Installation
Before drilling any holes or purchasing hardware, careful planning will ensure your hammock chair installation is both safe and enjoyable. Location selection is the critical first step in creating your perfect relaxation spot.
Clearance Requirements
For optimal safety and comfort, your hammock chair needs adequate space:
- Minimum distance from walls: 18-24 inches on all sides
- Recommended swing radius: 3-4 feet for comfortable movement
- Height from mounting point to floor: 6.5-7.5 feet (adjustable based on chair design)
Remember that many injuries occur when hammock chairs are installed in cramped spaces where users can hit walls, furniture, or other objects while swinging.
Indoor vs. Outdoor Considerations
While the fundamental installation principles remain the same, outdoor under-roof installations require weather-resistant hardware and more frequent maintenance checks. Indoor installations offer more flexibility but require careful consideration of room layout and functionality.
The style of your hammock chair also impacts space requirements. Chairs with spreader bars need more horizontal clearance, while cocoon-style chairs require more vertical space. Understanding the complete hammock chair installation process will help you choose the right location and chair style for your space.
If you’re concerned about permanent installation, consider exploring various hammock chair options with stands that provide stability without requiring ceiling mounting.
Understanding Your Overhead Structure: The Foundation of Safety
The single most important factor in hammock chair safety is identifying proper structural support. No matter how high-quality your chair or hardware might be, mounting to an inadequate structure creates a dangerous situation.
Identifying Different Ceiling Types
- Wooden Joists/Beams: The ideal mounting surface, offering excellent load-bearing capacity
- Exposed Rafters: Great mounting points if they’re structural (not decorative)
- Concrete Ceilings: Require special anchors but provide strong support
- Metal Structures: Can work well with proper hardware but require different techniques
Unsafe Mounting Surfaces (NEVER Use These)
- Drywall or ceiling panels without structural support
- Decorative or non-load-bearing beams
- Thin fascia boards
- Hollow areas between joists
Finding Ceiling Joists
For concealed structures, use a stud finder to locate joists. Once you’ve found what appears to be a joist, verify by:
1. Tapping along the ceiling (solid sounds indicate joists)
2. Drilling a small pilot hole to confirm wood presence
3. Using a thin wire to probe and feel for resistance
Remember that most residential ceiling joists run in a single direction, typically spaced 16 or 24 inches apart. Understanding how much weight hammock chairs can hold helps you determine if your structure provides adequate support.
For maximum safety, your mounting point should support at least 300 pounds—even if your hammock chair is rated for 250 pounds. This safety margin accommodates dynamic forces created during entry, exit, and swinging. The strongest materials for hammock stands principles also apply to ceiling mounting hardware selection.

Essential Tools and Hardware for Secure Installation
Gathering the right equipment before you start ensures a smooth, safe installation process.
Required Tools
- Stud finder (for locating joists)
- Electric drill with various drill bits
- Measuring tape
- Level
- Adjustable wrench or socket set
- Safety glasses
- Ladder or step stool
- Pencil for marking
Essential Hardware
- Ceiling hook or eye bolt (minimum 3/8-inch diameter for single-point mounting)
- Mounting plate (for added stability)
- Carabiners or S-hooks (rated for at least 1000 pounds)
- Chain, rope, or straps for suspension
- Spring or swivel hook (optional, for enhanced movement)
For outdoor installations under a roof, choose stainless steel or galvanized hardware to prevent rust and deterioration. Indoor installations have more flexibility in hardware aesthetics but should never compromise on weight ratings.
Optional accessories like spring attachments can absorb shock and provide smoother swinging motion, while swivel hooks allow 360-degree rotation. These enhance the experience but require additional height clearance.
Browse our complete hammock chair sets with hardware if you prefer a matched, ready-to-install solution with all necessary components.
Step-by-Step Installation Process for Wood Ceiling Joists
Follow these precise steps for a secure installation in wooden structural supports:
Locate and mark your joist: Use a stud finder to identify the center of the joist, and mark the exact mounting location.
Drill a pilot hole: Use a drill bit approximately 1/8-inch smaller than your eye bolt diameter. For a 3/8-inch eye bolt, use a 1/4-inch drill bit. Drill straight up into the joist, reaching 2-3 inches deep.
Install the eye bolt: Thread the eye bolt into the pilot hole by hand until it becomes tight. Then use a screwdriver or wrench through the eye to tighten it further until the eye is flush against the ceiling and oriented in your desired direction.
Safety test: Before attaching your hammock chair, hang from the eye bolt with your full body weight for a few seconds to verify its security. Listen for creaking or movement.
Attach suspension system: Connect your chair using the chain, rope, or straps, ensuring all connections use locking carabiners or secure knots.
Adjust height: The ideal seat height is typically 16-22 inches from the floor, but this depends on the user’s height and personal preference.
Test gradually: Sit slowly into the chair the first time, listening for any sounds from the mounting point and monitoring how the chair feels.
The installation process varies slightly for different chair types. Deep seat chair hammock sets often require more precise height adjustments for optimal comfort.
Installing in Concrete Ceilings: Special Considerations
Concrete ceilings require different techniques but can provide excellent support when done correctly.
Gather specialized tools: You’ll need a hammer drill with masonry bits, concrete anchors (expansion bolts or sleeve anchors), and a vacuum for dust collection.
Mark your drilling spot: Choose a solid section of concrete, avoiding edges or visibly damaged areas.
Drill the hole: Use the hammer drill with a masonry bit matching your anchor size. Drill to the depth specified for your anchor type.
Clean the hole: Remove all dust using a vacuum or blower, as dust prevents proper anchor expansion.
Insert the anchor: Place the expansion bolt or sleeve anchor into the hole and tighten according to manufacturer instructions.
Verify security: Test the anchor by pulling on it firmly before attaching any weight.
Concrete installations typically provide excellent support but require more effort for installation and removal. Following proper indoor-outdoor hammock safety guides is crucial when working with masonry materials.
Perfecting Your Setup: Height, Angle, and Comfort Adjustments
Finding the perfect position for your hammock chair requires some fine-tuning after the initial installation.
Height Optimization
- For adults: The seat should hang approximately 16-22 inches from the floor
- For taller individuals: Aim for the higher end of this range
- For shorter individuals: Lower heights (closer to 16 inches) are usually more comfortable
Angle and Support Adjustments
- Chair should hang straight down when empty
- Back support can be adjusted by shortening or lengthening rear suspension points
- Slight forward tilt makes entry and exit easier but might affect relaxation comfort
Test different configurations to find your perfect position. What feels comfortable for a few minutes might not be ideal for longer relaxation sessions. Make small adjustments and test each change before finalizing your setup.
Advanced Tips for Swing Control and Noise Reduction
Once your basic installation is complete, these refinements can enhance your experience:
Controlling Unwanted Movement
Problem: Chair rotates too much during use
Solution: Install two attachment points instead of one, or add a small weight to the bottom of the chair
Problem: Excessive swinging
Solution: Shorten the suspension system or add friction elements to the mounting hardware
Eliminating Noise Issues
Problem: Creaking sounds during movement
Solution: Add nylon washers between metal components
Problem: Chain noise
Solution: Replace metal chain with rope or fabric straps, or cover chain with fabric sleeves
Problem: Rubbing against nearby surfaces
Solution: Install cushioned bumpers on walls or adjust placement
Browse our collection of hammock chair ideas for ultimate relaxation for more creative solutions to common challenges.
Alternatives When Drilling Isn’t an Option
Not every space allows for ceiling mounting. Here are excellent alternatives when permanent installation isn’t possible:
Freestanding Hammock Chair Stands
These self-supporting structures eliminate the need for ceiling mounting. Quality stands provide:
* Stability for weights up to 250-300 pounds
* Portability for repositioning
* No structural modifications to your home
The trade-off is floor space—most stands require a footprint of 4-5 feet in diameter.
Tension-Mounted Systems
For specific situations, pole-to-pole tension systems use pressure rather than permanent hardware. These work only in certain configurations and generally support less weight than direct-mounted options.
Our porch swing chair sets offer alternative seating options when traditional hammock chair mounting isn’t feasible.

Dark Wood Hammock Sets, Porch Swing Chair Sets
$653.82 Select options This product has multiple variants. The options may be chosen on the product page
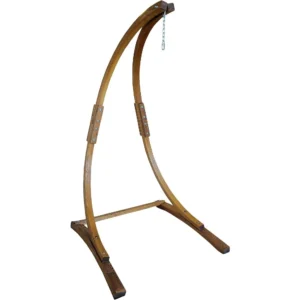
A-Frame Stand Hammock Sets, Swinging Hammock Chair Sets
$154.62 Select options This product has multiple variants. The options may be chosen on the product page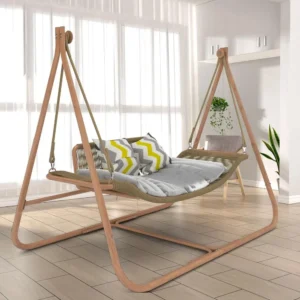
Light Wood Hammock Sets, Swinging Hammock Chair Sets
$1,359.35 Select options This product has multiple variants. The options may be chosen on the product page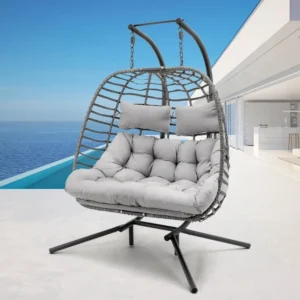 $963.29 Select options This product has multiple variants. The options may be chosen on the product page

Complete Camping Hammock Systems, Hanging Egg Chair Sets
$266.73 Select options This product has multiple variants. The options may be chosen on the product page
Deep Seat Chair Hammock Sets, Hanging Egg Chair Sets
$165.85 Select options This product has multiple variants. The options may be chosen on the product page
Ongoing Maintenance and Safety Checks for Long-Term Enjoyment
Regular maintenance ensures your hammock chair remains safe and comfortable for years.
Monthly Safety Checklist
- Inspect all hardware for signs of rust, bending, or wear
- Check that eye bolts or hooks remain tightly secured
- Examine chains, ropes, or straps for fraying, stretching, or damage
- Test all carabiners and connection points for proper closure
- Look for any changes in the ceiling structure around mounting points
- Verify that the hammock chair fabric remains intact without tears or weakening
Seasonal Care
- For outdoor installations, remove and store hammock chair fabric during extreme weather
- Apply appropriate protectants to wooden structures
- Tighten any hardware that may have loosened through use
- Clean fabric according to manufacturer instructions
Investing in weather-resistant hammock chairs for porch use can reduce maintenance requirements while extending the lifespan of your setup.
Is Your Hammock Chair Safe for Children? Important Considerations
Hammock chairs can provide enjoyable seating for children when used appropriately, but require special attention to safety.
Are hammock chairs suitable for all ages?
Most manufacturers recommend adult supervision for children under 12, with some chairs specifically designed for younger users with additional safety features.
What safety features should I look for?
Choose chairs with enclosed designs that prevent falling and secure attachment points that prevent tipping. Lower hanging heights (12-16 inches from the floor) are safer for children.
How should I adjust usage rules for children?
Establish clear guidelines: no standing in the chair, no pushing others while swinging, and appropriate weight limits. For very young children, minimal swing amplitude is safest.
Can multiple children use a hammock chair simultaneously?
This depends entirely on the chair’s weight rating and design. Most standard hammock chairs are designed for single occupancy, even if the weight capacity theoretically allows for multiple users.

Common Installation Mistakes and How to Avoid Them
Learning from others’ experiences helps prevent dangerous errors:
Insufficient Support Structure
- Problem: Mounting to decorative beams or drywall alone
- Consequence: Complete failure, potential injury
- Solution: Always verify structural integrity and mount only to load-bearing elements
Inadequate Hardware
- Problem: Using hardware too small or not rated for the weight
- Consequence: Bent hooks, stripped screws, or complete failure
- Solution: Choose hardware rated for at least 50% more than your maximum expected weight
Improper Drilling Technique
- Problem: Drilling at an angle or creating oversized holes
- Consequence: Weakened mounting point, potential failure over time
- Solution: Drill straight, use appropriate bit sizes, and follow hardware specifications
Ignoring Dynamic Forces
- Problem: Calculating for static weight only
- Consequence: Failure during movement or swinging
- Solution: Account for movement forces by choosing hardware rated for 2-3 times the static weight
Our guide to comprehensive weather protection for patio hammock chairs includes additional installation considerations for outdoor settings.
Conclusion: Creating Your Perfect Relaxation Space
A properly installed hammock chair transforms any covered space into a personal retreat. By following the structural assessment, hardware selection, and installation guidelines in this guide, you’ve created not just a beautiful addition to your home, but a safe one that will provide comfort for years to come.
Remember that regular maintenance checks are essential—take a few moments each month to inspect your mounting hardware and suspension system. This simple habit prevents most safety issues before they become problems.
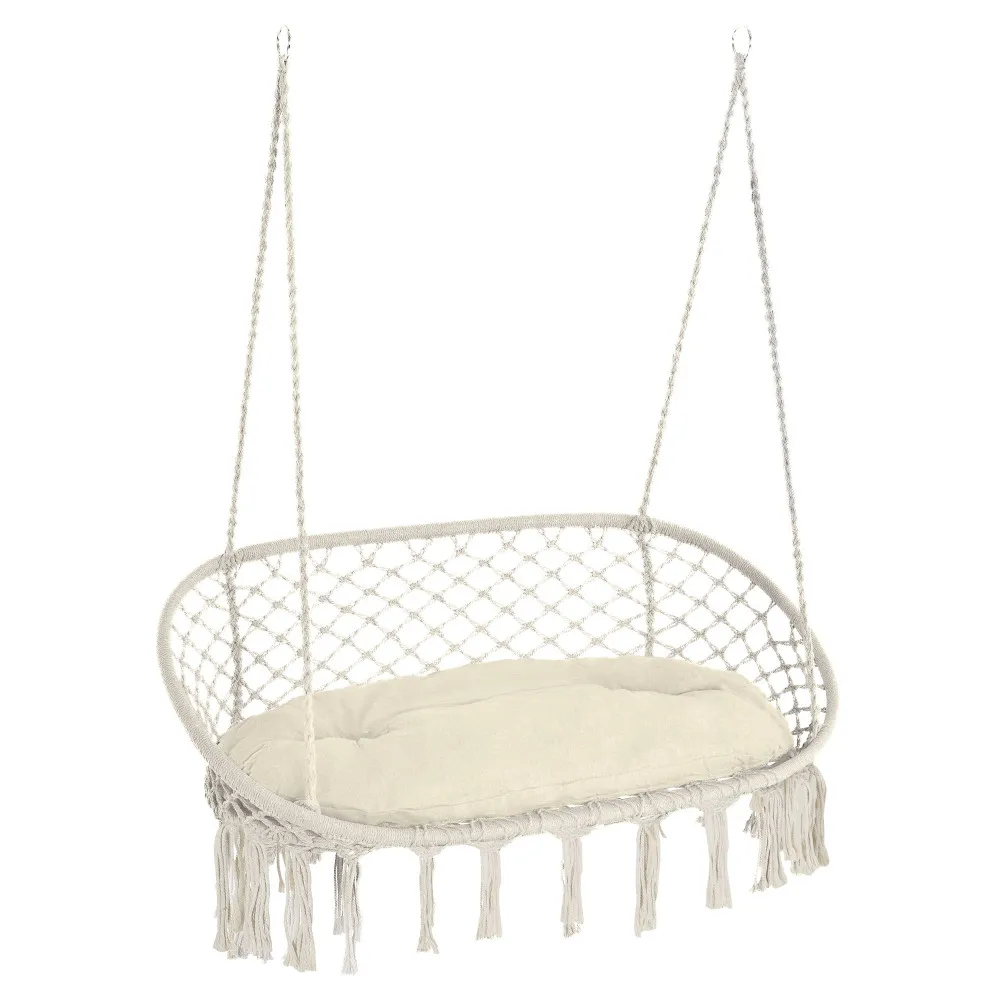
Whether you’ve opted for a traditional rope hammock chair, a plush cushioned design, or one of our stylish hanging egg chair sets, your under-roof installation provides the perfect combination of protection and comfort. Enjoy the gentle swaying, the cozy embrace, and the peaceful moments in your perfectly suspended sanctuary.